Authentication
This guide covers the options for authenticating requests to the Webflow API, including the different methods available and how to choose the best approach for your needs.
Getting a token
To access the Webflow API, you need to authenticate your requests using a bearer token, which must be included in the authorization header of each API request. There are types of bearer tokens you can create: Site Tokens and OAuth tokens. Each method is suited to different use cases, and choosing the right one depends on your specific needs.
Site Tokens provide a simple way to authenticate API requests for a specific Webflow site.
When to use
Best suited for internal tools and single-site integrations where you control the environment.
Workspace Tokens provide access for all sites in a Webflow Workspace.
When to use
Best suited for read-only uses, such as monitoring and auditing multiple sites.
OAuth Tokens are used for complex integrations that span multiple sites or require user-specific access.
When to use
Ideal for public integrations, Apps in the Webflow Marketplace, or any scenario requiring secure, user-specific access.
Quickstart Tip
If you’re eager to explore the API without setting up full authentication, use our API playground available in the API reference. Authenticate once and make requests directly from the documentation.
Sending a request
Sending a request to the Webflow API v2 is straightforward. Include your bearer token in the Authorization header:
Replace YOUR_TOKEN with your actual API token. This setup authenticates your request, allowing access to Webflow resources.
Revoking a token
To maintain the security of your integration, it’s important to revoke access tokens when they’re no longer needed or if you suspect they have been compromised. Revoking a token immediately invalidates it, ensuring that it can no longer be used to access the Webflow API.
You can revoke tokens programmatically through the Webflow API or manage them directly within the Webflow dashboard.
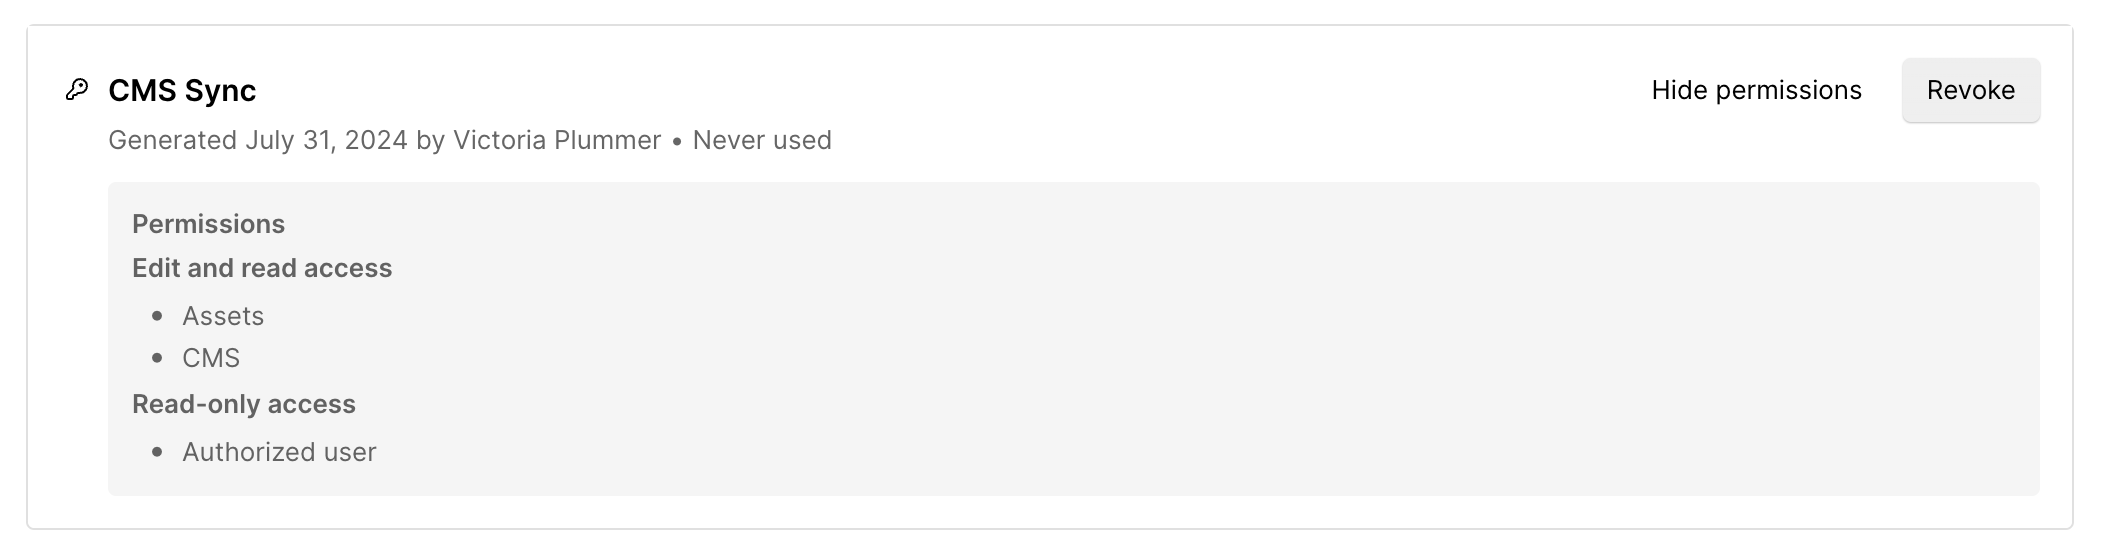
Site Token
OAuth Token
Webflow users can remove Site Tokens from the Site Settings. This ensures that unused tokens are securely revoked.
Securing and storing your API tokens
When working with the Webflow API, safeguarding your API tokens is critical to maintaining the security and integrity of your application. API tokens are like passwords for your application—they provide access to sensitive data and actions. Protecting them is essential to prevent unauthorized use and potential security breaches.
Best practices for token security
- Use environment variables Store API tokens in environment variables rather than in your source code. This reduces the risk of accidentally exposing tokens, especially if your code is shared or made public.
- Regular token rotation and revocation Regularly rotate your API tokens to minimize risk. If you suspect a token has been compromised, revoke it immediately and generate a new one.
Troubleshooting
Despite best efforts, issues with API tokens can still occur. Here are common pitfalls and tips to resolve them:
Expired or invalid tokens
- Implement a system to refresh tokens automatically before they expire, or prompt users to re-authenticate.
- Check token validity and handle expired tokens gracefully in your application.
Scope and permission errors
- Ensure your tokens include the correct scopes for the actions you intend to perform. Review the Webflow API documentation for an API endpoint to verify required scopes.
Debugging tips
- Log and review error messages to identify where the authentication process is breaking down.
- Start with minimal scopes to test and gradually increase permissions as needed.
- Verify that your requests include the authorization header with the token.