Rich Text
Add a Rich Text property to your component so designers can create formatted content with HTML markup.
Syntax
Prop definition
Define the Rich Text prop in your Webflow code component with a name. Optionally, you can add a group and tooltip text.
Properties
name: The name for the property.group: The group for this property. (optional)tooltip: The tooltip for the property. (optional)defaultValue: Default value for all component instances. (optional)
Example
MyComponent.webflow.tsx
Prop value
The Rich Text prop provides formatted HTML content to your React component as a ReactNode.
PropType.RichText
Properties
n/a
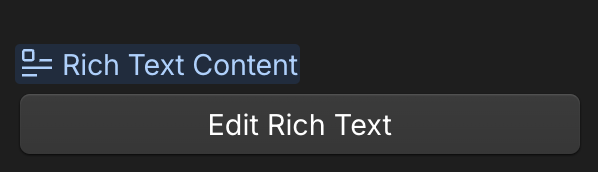
Webflow properties panel
Example
MyComponent.tsx
When to use
Use a Rich Text prop when you want designers to:
- Create formatted content with bold, italic, links
- Add structured content like headings and lists
- Include HTML markup in their content
Best practices
- Provide meaningful default values so the component renders when added to the canvas
- Handle missing content gracefully
- Consider content styling and layout
- Test with various HTML structures