Site Token
Site tokens provide access to site-specific resources via the Webflow Data API.
Site tokens are required to authenticate requests to the Webflow Data API. Each token acts as a unique identifier and password, allowing Webflow to verify:
- Who is making the request
- What they’re allowed to do through scopes and permissions
- Which sites and workspaces they’re accessing
You’ll need to include your site token in the “Authorization” header of every API request. You’ll see how to do this in the examples below.
Creating a site token
Site administrator access required
Only site administrators are authorized to create a site token. If you’re not a site administrator, please contact one to create the token for you.
-
In your workspace, find the site you want to create a token for and click the
 gear icon to open the site settings.
 -
In the left sidebar of your site’s settings, select Apps & integrations. Scroll to the bottom of the page to the API access section.

-
Click Generate API token.
-
Enter a name for your token, and choose the scopes needed for your use case.
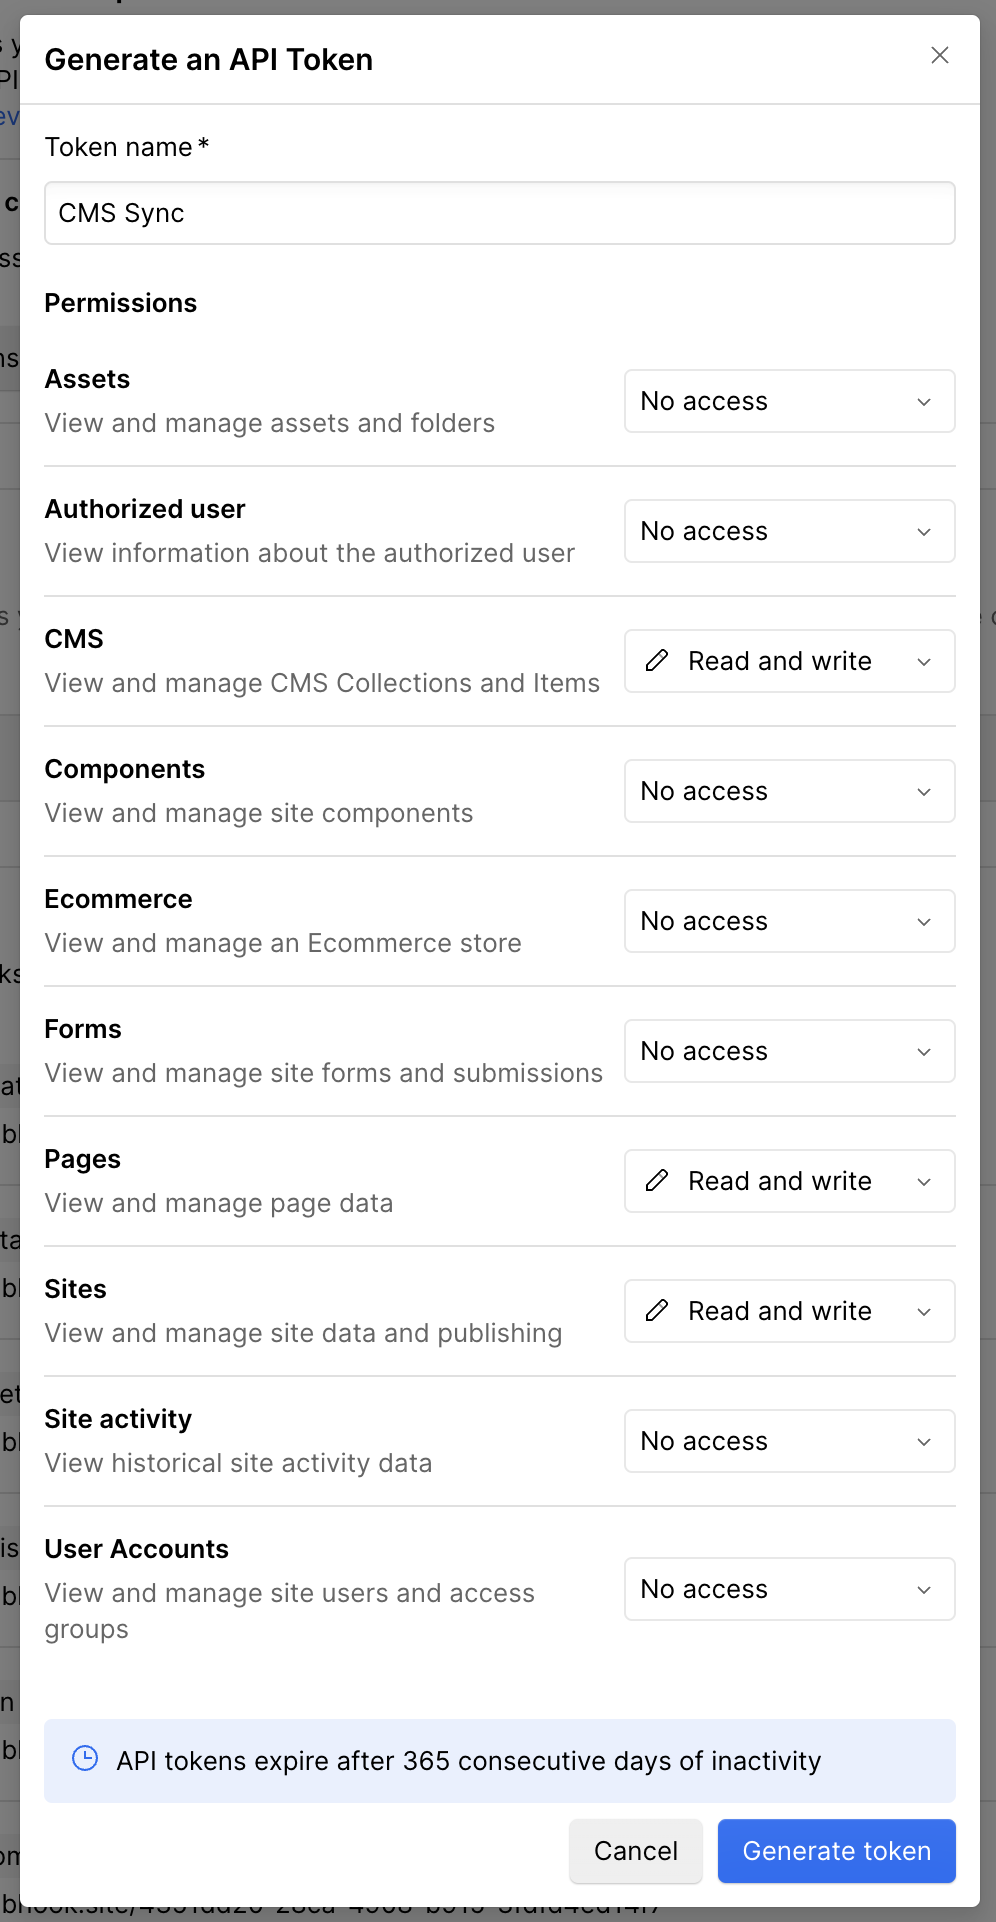
-
Click “Generate token.”
-
Copy the generated token to your clipboard and save it in a secure location.
Limitations
- API tokens expire after 365 consecutive days of inactivity. Any API call made with the token before expiry will reset the inactivity period.
- Site tokens are created per site. If you’re looking to build an integration that works across multiple sites, consider creating a Webflow App.
- Each site can have up to 5 tokens. This limit ensures manageable token access and security.
- Site tokens don’t grant access to the following endpoints:
- Authorization endpoints
- Custom code endpoints
- Workspace Activity log endpoints
Using a site token
Now that you have your site token, you can start making requests to the Webflow Data APIs.
cURL
JavaScript
Python
Example
This command retrieves a list of sites associated with your Webflow account. Replace YOUR_API_TOKEN with the site token you generated.
Example API response
Here’s an example of what a response from the Webflow API might look like:
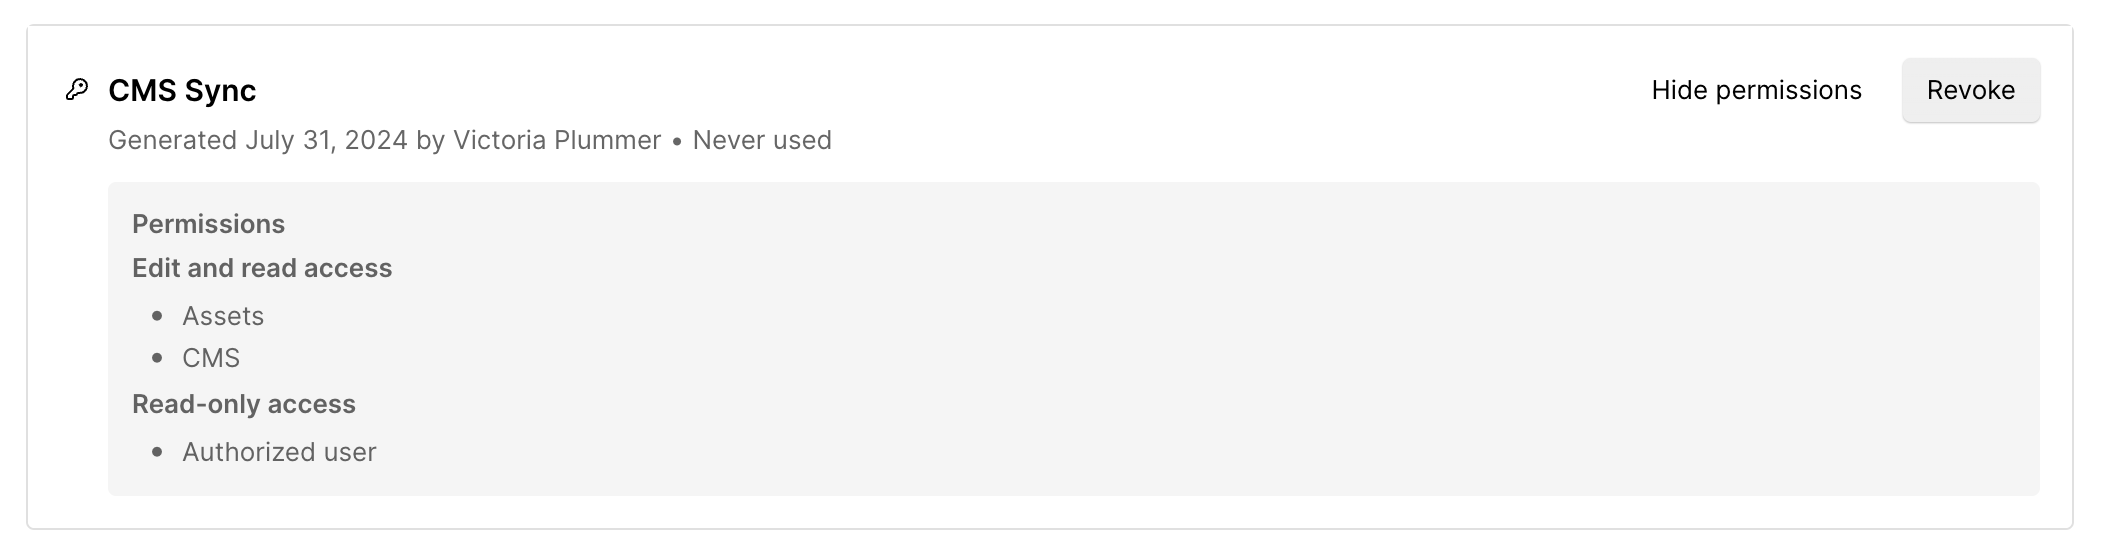
Revoking a site token
To revoke a site token:
- Go to Site settings > Apps & integrations > API access.
- Find your site token
- Select the “revoke” button
Revoking a site token is an additional security measure for your Webflow site. This process disables the token, preventing any further access or use. You should consider revoking a site token in the following situations:
- Security Concerns: If there’s a potential security issue, revoke the token immediately.
- Administrator Changes: If an administrator leaves or their role changes, revoke their token to maintain security.
- Token Management: Regularly review and revoke tokens that are no longer needed.
Best practices
- Mint tokens for each use case: Instead of reusing tokens, generate a new token for each specific use case to maintain better security and control.
- Rotate tokens periodically: Regularly update and revoke old tokens to maintain security.
- Be Descriptive: Name your tokens something descriptive and meaningful to easily identify their purpose.
- Minimal Scopes: Generate tokens with the minimal scopes needed for your use case. Mint a new one if you need to add new scopes. This limits the potential impact if a token is compromised.
Troubleshooting and FAQs
How long is a site token valid?
Site tokens are valid until they’re manually revoked or after 365 days of inactivity.
Can I regenerate a site token?
Yes, you can generate a new token at any time from the API access section in your site settings.
What happens if I lose my site token?
You will need to generate a new one and update any integrations using the old token.