

Working with Custom Code
This guide will demonstrate how to add custom code to a pre-configured example site. You will learn how to register scripts to a site, apply them to a page, and publish the site, illustrating the complete process of managing scripts via the API.
Scripts you register and apply to customer sites are part of your reviewed App experience. Script versions are immutable by design — you cannot overwrite a registered script — so approved code can’t change after review. To ship changes to code running on customer sites, register a new script version and submit an App update for review. See App-delivered code and injected scripts in the Marketplace Guidelines.
- Changes require a publish. Applying, updating, or removing a script through the API changes a site’s custom code, but the change only takes effect when the site is published. Publishing pushes all staged site changes live, so prompt users to publish when they’re ready rather than publishing automatically on their behalf.
- Prefer the API over manual installation. Deliver code through the Custom Code API rather than asking users to paste scripts into their site manually. Manually pasted code sits outside your App’s lifecycle — your App can’t version, update, or remove it — and it can run twice when your App also applies the same script through the API.
- Retain the scopes needed for a clean uninstall. To remove the code your App applied when a user uninstalls, your App must keep the scopes that let it do so —
custom_code:write, plussites:writeorpages:writefor scripts applied at the site or page level — and publish the affected site so the removal takes effect. Remove applied scripts at both the site and page level. See App-delivered code and injected scripts.
Prerequisites
-
A clone of the Code Example Site.
-
A Webflow App with the following scopes:
sites:read,sites:write,pages:read,pages:write,custom_code:read, andcustom_code:write. Only Webflow Apps with OAuth tokens can call the custom code API endpoints, not clients with site or Workspace tokens. -
An Ngrok account and authentication token. This guide uses Ngrok to set up a secure tunnel for the App.
1. Clone the Example Site
- Clone the Example Webflow Project: Clone the example Webflow site where scripts will be applied.
- Publish the site: Publish the site and explore it in your browser.
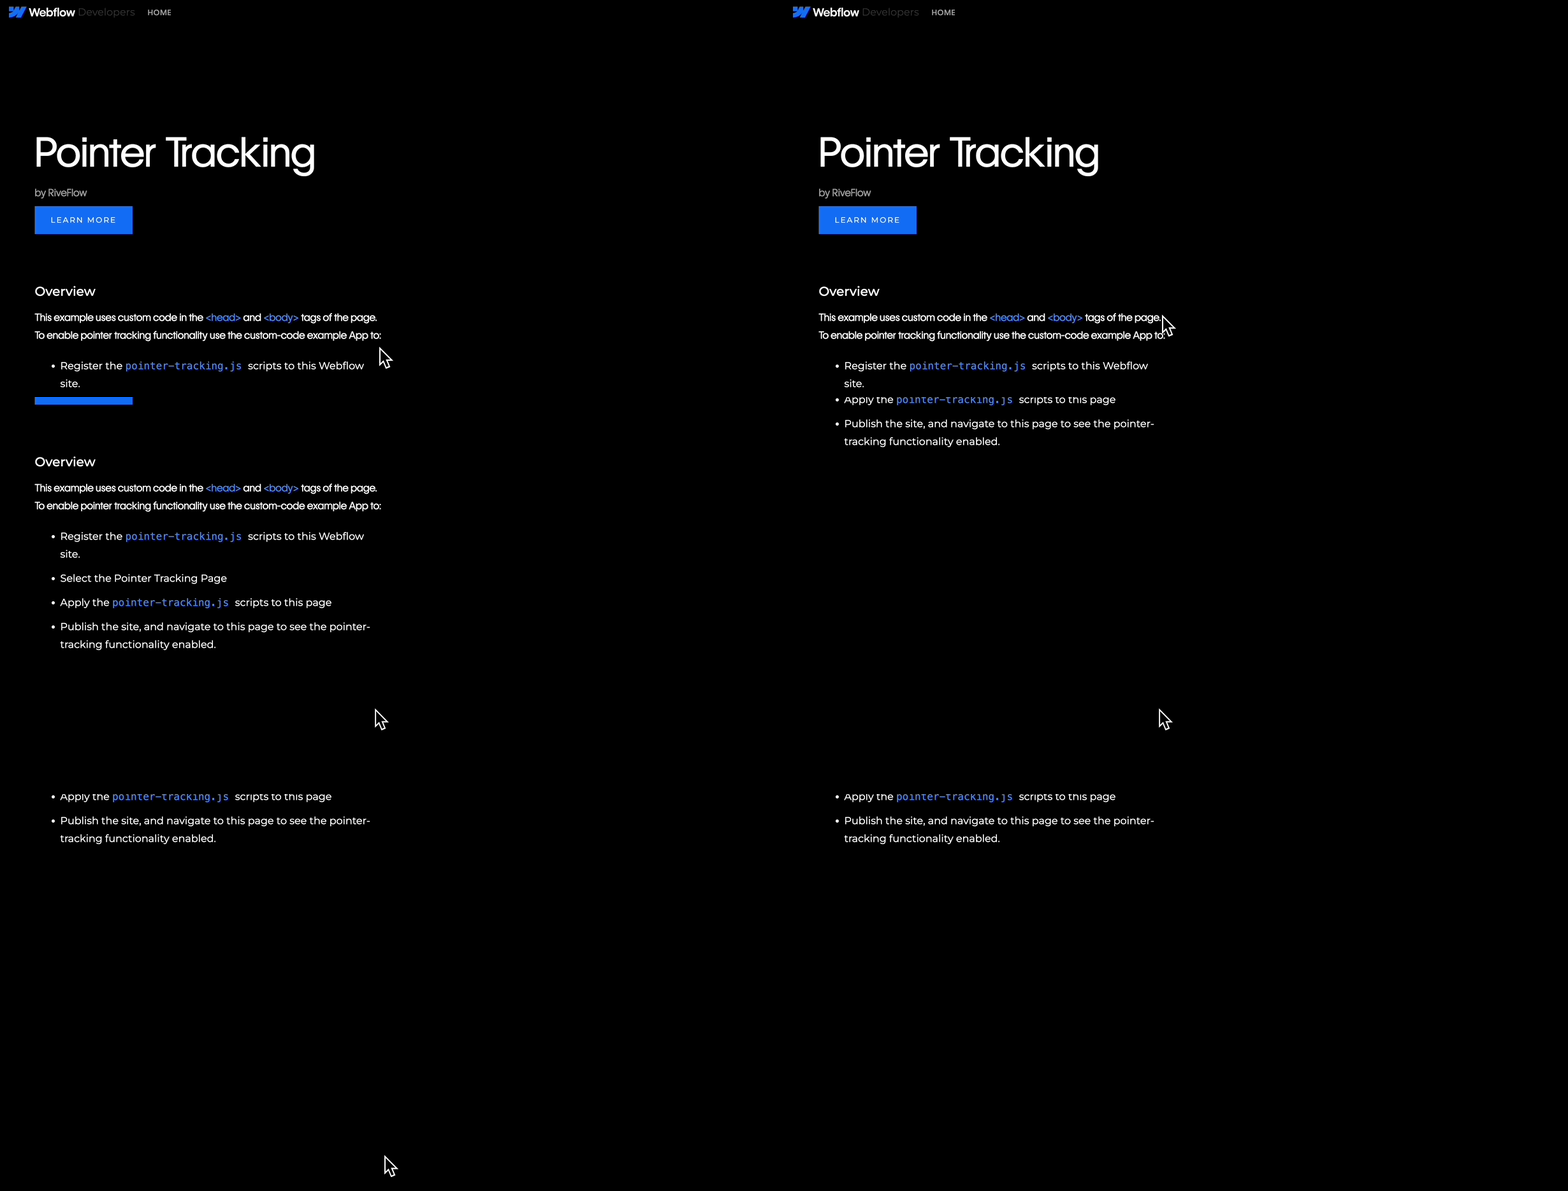
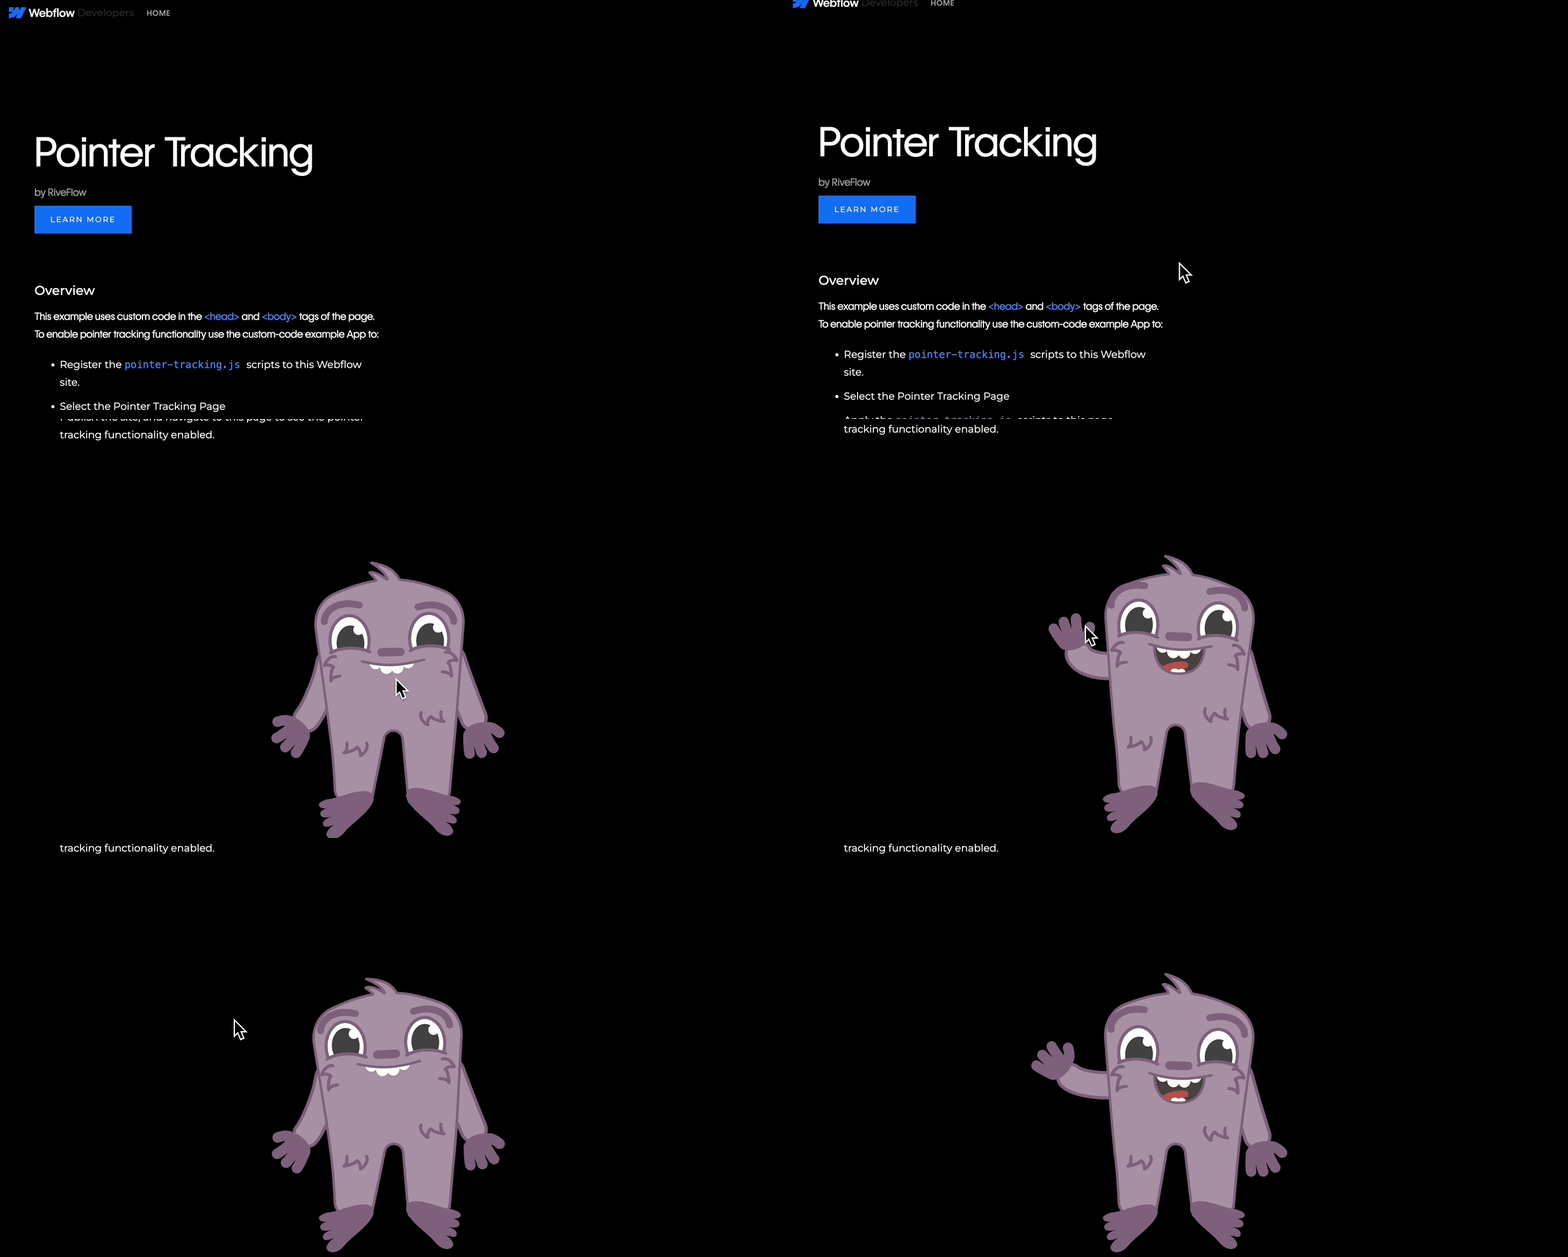
- Navigate to the “Pointer Tracking” example: The page will have an overview description of the example, and instructions on how to implement the code. In our finished version, once custom code is applied to the page, the “Pointer Tracking” example will show an animation that follows your pointer across the page.
Without Custom Code
With Custom Code
2. Setup the Development Environment
-
Clone the Project Repository Run the following commands in your IDE to clone the example repository and install dependencies:
Bash -
Configure Environment Variables Fill out a
.envfile with the necessary environment variables:.env
3. Start and Authorize Your App
-
Start the Project Run the following command in your IDE to start the project:
Bash -
Update App’s Redirect URI Once the server is running, copy the Redirect URI provided in the terminal. Navigate to your Webflow Workspace dashboard, go to “Apps & Integrations,” and update the Redirect URI in your App settings. Save the changes.
Terminal Output
Update App Redirect URI

-
Authorize App We’ll need to authorize the App to access the newly cloned example site. We’ve already set up the authorization flow in this example App. Navigate to
localhost:8080and choose the workspaces or sites you want your App to access. Once authorized, you’ll be redirected to the App’s frontend.To see how we configured authorization for this App, navigate to the
backendfolder and reviewcontrollers/authController.js,routes/authRoutes.js, andwebflowClientMiddleware.js. For more information on setting up authorization, read through our authorization guide.
4. Register Scripts
In this step, you will register scripts necessary for implementing custom functionality on your Webflow site. The App provides three example scripts that correspond to functionalities you can implement on the example site. We’ll start with Pointer Tracking, a script that enables an animation to follow your pointer around on the screen. We’d like to give Jeff McAvoy at RiveFlow a special thanks for contributing this example to the Webflow developer community.
-
Choose the Pointer Tracking Example
From the list of example scripts, select “Pointer Tracking.” Once selected, you’ll see a list of scripts to register that are marked inline or hosted.Hosted Scripts
Inline Scripts
Hosted scripts require a
hostedLocation(the URL where the script is hosted) and anintegrityHashto verify the script’s contents.The following controller logic in the example app automates this process:
- it fetches the script from the
hostedLocation - generates an
integrityHashto ensure the script hasn’t been tampered with - and then uploads this information to the Webflow endpoint.
This verification step ensures the script’s integrity before it’s applied to your Webflow site.
backend/controllers/scriptController.js - it fetches the script from the
-
Provide script details
To upload a script via the API, you’ll need to provide the following details:displayName(string): The name of your scriptversion(string): The semantic version of your script. Each script must have a unique combination ofdisplayNameandversion. You cannot overwrite scripts at this time.canCopy(Boolean): Define whether the script can be copied on site duplication and transfer
For the example we’ve already included the
hostedLocationif it’s a hosted script, or thesourceCodeif it’s an inline script. -
Click register
Depending on the type of script, inline or hosted, this button will send your script to the backend server, and then to the appropriate Webflow endpoint. -
Once you’re finished registering your scripts, click the “Next” button.
5. Apply Scripts
Now that a script has been registered to the Webflow site, you can use the API to apply scripts to either the entire site or a specific page. In this step, you will apply each script to the appropriate page for the chosen example.
Scripts can be applied to one of two locations:
- Header: Within the
<head>tag. - Footer: Right before the closing
</body>tag.
-
Select a Page Choose the page where you’ll apply the script. For this example, we’ll select the “Pointer Tracking” page.
-
View Registered Scripts You will see a list of scripts that have been registered to your site, populated by the Get Scripts endpoint.
- The list includes the script ID, version, and
hostedLocation. - Note that even inline scripts have
hostedLocationURLs, as Webflow uploads these scripts to its CDN for serving.
- The list includes the script ID, version, and
-
Apply Scripts
- Header: Apply the Rive.js script to the header.
- Footer: Apply the pointer-tracking.js script to the footer.
To apply the scripts we’ve registered to the page, we’ll use the Add/Update Custom Code endpoint. This endpoint requires you to add all custom code blocks to the page. Therefore, we’ll also use the Get Custom Code endpoint to retrieve any existing applied scripts, also known as custom code blocks, and upload a complete list of code that should be on the site.
We’ve applied this logic in our example app in
backend/controllers/scriptControllers.jsJavaScript -
Bonus: Check the Page in the Designer
The Webflow Designer allows users to see how apps integrate code into their sites. After applying a script to a site or page, you can view it in the Designer’s settings.- Open the Webflow Designer.
- Go to the page settings for “Pointer Tracking.”
- Scroll down to the Custom Code section to see the script your app added.

6. Publish and View Your Site
Before you can see your scripts in action, you’ll need to publish your entire site. Click the “Publish Site” button to publish your site using the Publish Site endpoint.
Once your site is published, click “View Page” to go directly to your Pointer Tracking page. You should now see a fun animation that follows your pointer around the page.
Next Steps
Awesome! Now that you’ve got the hang of custom code, here are some other cool things you can do:
- Apply More Examples: Use the app to explore and apply more example scripts.
- Add Your Own Custom Code: Use the API to add your own custom code examples and see them in action on your Webflow site.
Keep experimenting and enhancing your Webflow site with custom scripts!