Designer API & Extensions

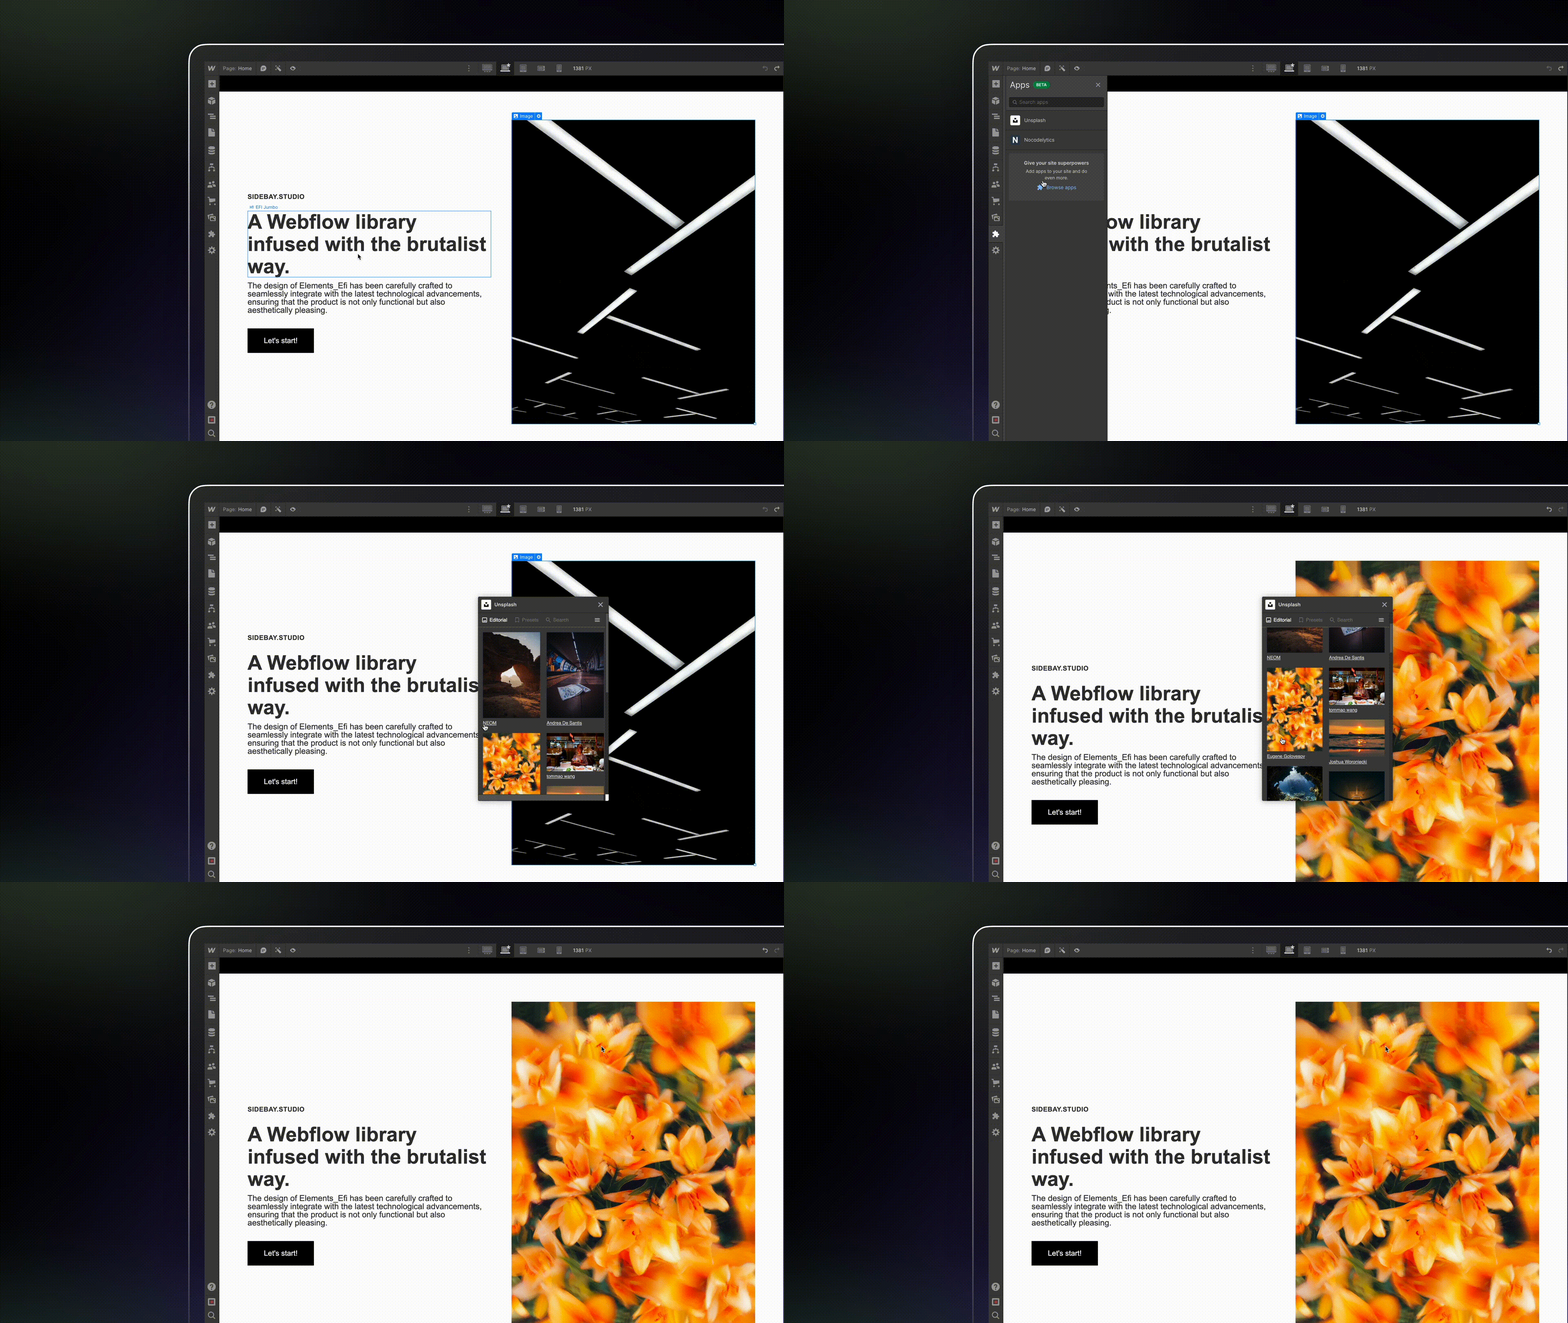
Designer Extensions are web applications that run directly inside the Webflow Designer. Using the Designer APIs, you can create powerful new tools that integrate seamlessly with a user’s workflow, helping them design, create, and optimize their sites faster than ever.
What you can build
Using the Designer APIs, you can build extensions that programmatically interact with a user’s design and content in real-time. This opens up a world of possibilities for workflow automation and creative tooling.
Generate complex components, populate data from third-party sources, or build entire page structures with a single click.
Create tools that allow users to apply and maintain consistent branding, manage variables, and swap themes.
Build extensions that connect to external asset libraries, optimize images, or automate asset organization.
Programmatically add and organize pages and folders, perfect for sites with complex information architecture.
How they work
Designer Extensions are single-page applications that run inside a secure iframe within the Webflow Designer. They use Webflow’s client-side Designer APIs to communicate with the Designer, allowing your app to perform actions that would typically require manual user intervention. For more advanced use cases, your extension can also integrate with your own backend services and third-party APIs including Webflow’s Data APIs.
The development workflow
From your first line of code to a public Marketplace launch, here’s an overview of the development process.
Register your App in Webflow
Before you can start building, you need to register a new app within your Webflow Workspace settings.
Create a Designer Extension from the CLI
Use the Webflow CLI to scaffold a starter project and run a local development server for live testing.
Build with the Designer APIs
The Designer APIs are how your app will interact with the Webflow canvas, providing a robust interface to control the Designer.
FAQs
Can I use the Data APIs in my Designer Extension?
Yes, you can use the Data APIs in your Designer Extension to access and update data from Webflow’s servers. This is called a Hybrid App. When you setup your app, you’ll need to select both the Data Client and Designer Extension options.
Which frameworks and libraries can I use to build my Designer Extension?
You can use any framework that outputs static resources and runs in a browser environment. Just make sure your extension fits within the iframe dimensions provided by Webflow.
How do I test my Designer Extension?
Install your extension on a test site
In the left sidebar of your workspace, navigate to Apps & Integrations > Develop. Click the ”…” button next to your app and select Install App. You’ll see an authorization screen where you can select the sites or workspace you want to install the app on.
Why isn't my extension interacting with Webflow as expected?
- Double-check your use of the Designer APIs and ensure you’re using the correct methods.
- Check the browser console for errors and review our error handling guidelines.
- Designer APIs only access content on the current page, not other sites or pages.
- Make sure your app has the right permissions and scopes.
- For Data API issues, verify you’re using the correct endpoints and valid tokens.
Why does my app look different in Webflow than expected?
- Designer Extensions run in an iframe with controlled dimensions. Check your configuration and use resizing methods if needed.
- Use scoped CSS or scoped class names to avoid style conflicts with Webflow’s native styles.
- Test at different viewport sizes to ensure responsive behavior.
Why can't I upload a new version of my Designer Extension Bundle?
Only Workspace admins can upload new bundles. If you’re not an admin, contact your Workspace administrator to upload the bundle or grant you the necessary permissions.
Why isn't my extension showing up in Webflow?
- Make sure you’ve bundled your app with the Webflow CLI and uploaded your Designer Extension via the Dashboard.
- Confirm the app is installed on your site or workspace (check the App Development section in your workspace).