MCP server and AI tools
Work with Webflow’s APIs using our official MCP server and AI tools

Build faster with Webflow’s APIs using LLMs. Connect directly to your site data, access collection schemas, generate functional code, and solve development challenges with context from your Webflow projects.
Webflow’s official MCP server
For developers using AI-powered tools like Cursor or Claude Desktop, we provide a Model Context Protocol (MCP) server that enhances your AI agent’s understanding of your Webflow projects. The MCP server has tools that enable AI agents to access real-time information about your sites, collections, and other objects, enabling more accurate and contextual code suggestions and troubleshooting. To see a full list of tools, see the MCP server documentation.
Install Webflow’s official MCP server
Remote installation
Get started quickly by installing Webflow’s remote MCP server, which uses OAuth to authenticate with your Webflow sites. For local installation, see the local installation section below.
Cursor
Claude Desktop
Windsurf
Webflow's remote MCP server is currently experimental
These installation methods rely on the mcp-remote npm package, which is currently considered experimental as of 05/01/2025.
Resetting your OAuth token
If you need to reset your OAuth token, you can run the following command before restarting your MCP client.
Local installation
If you prefer to install the MCP server locally, you can do so by following the steps below. Local installation requires Node.js and npm to be installed on your machine.
Prerequisites
- Node.js version 18 or higher
- npm version 10 or higher
Steps
-
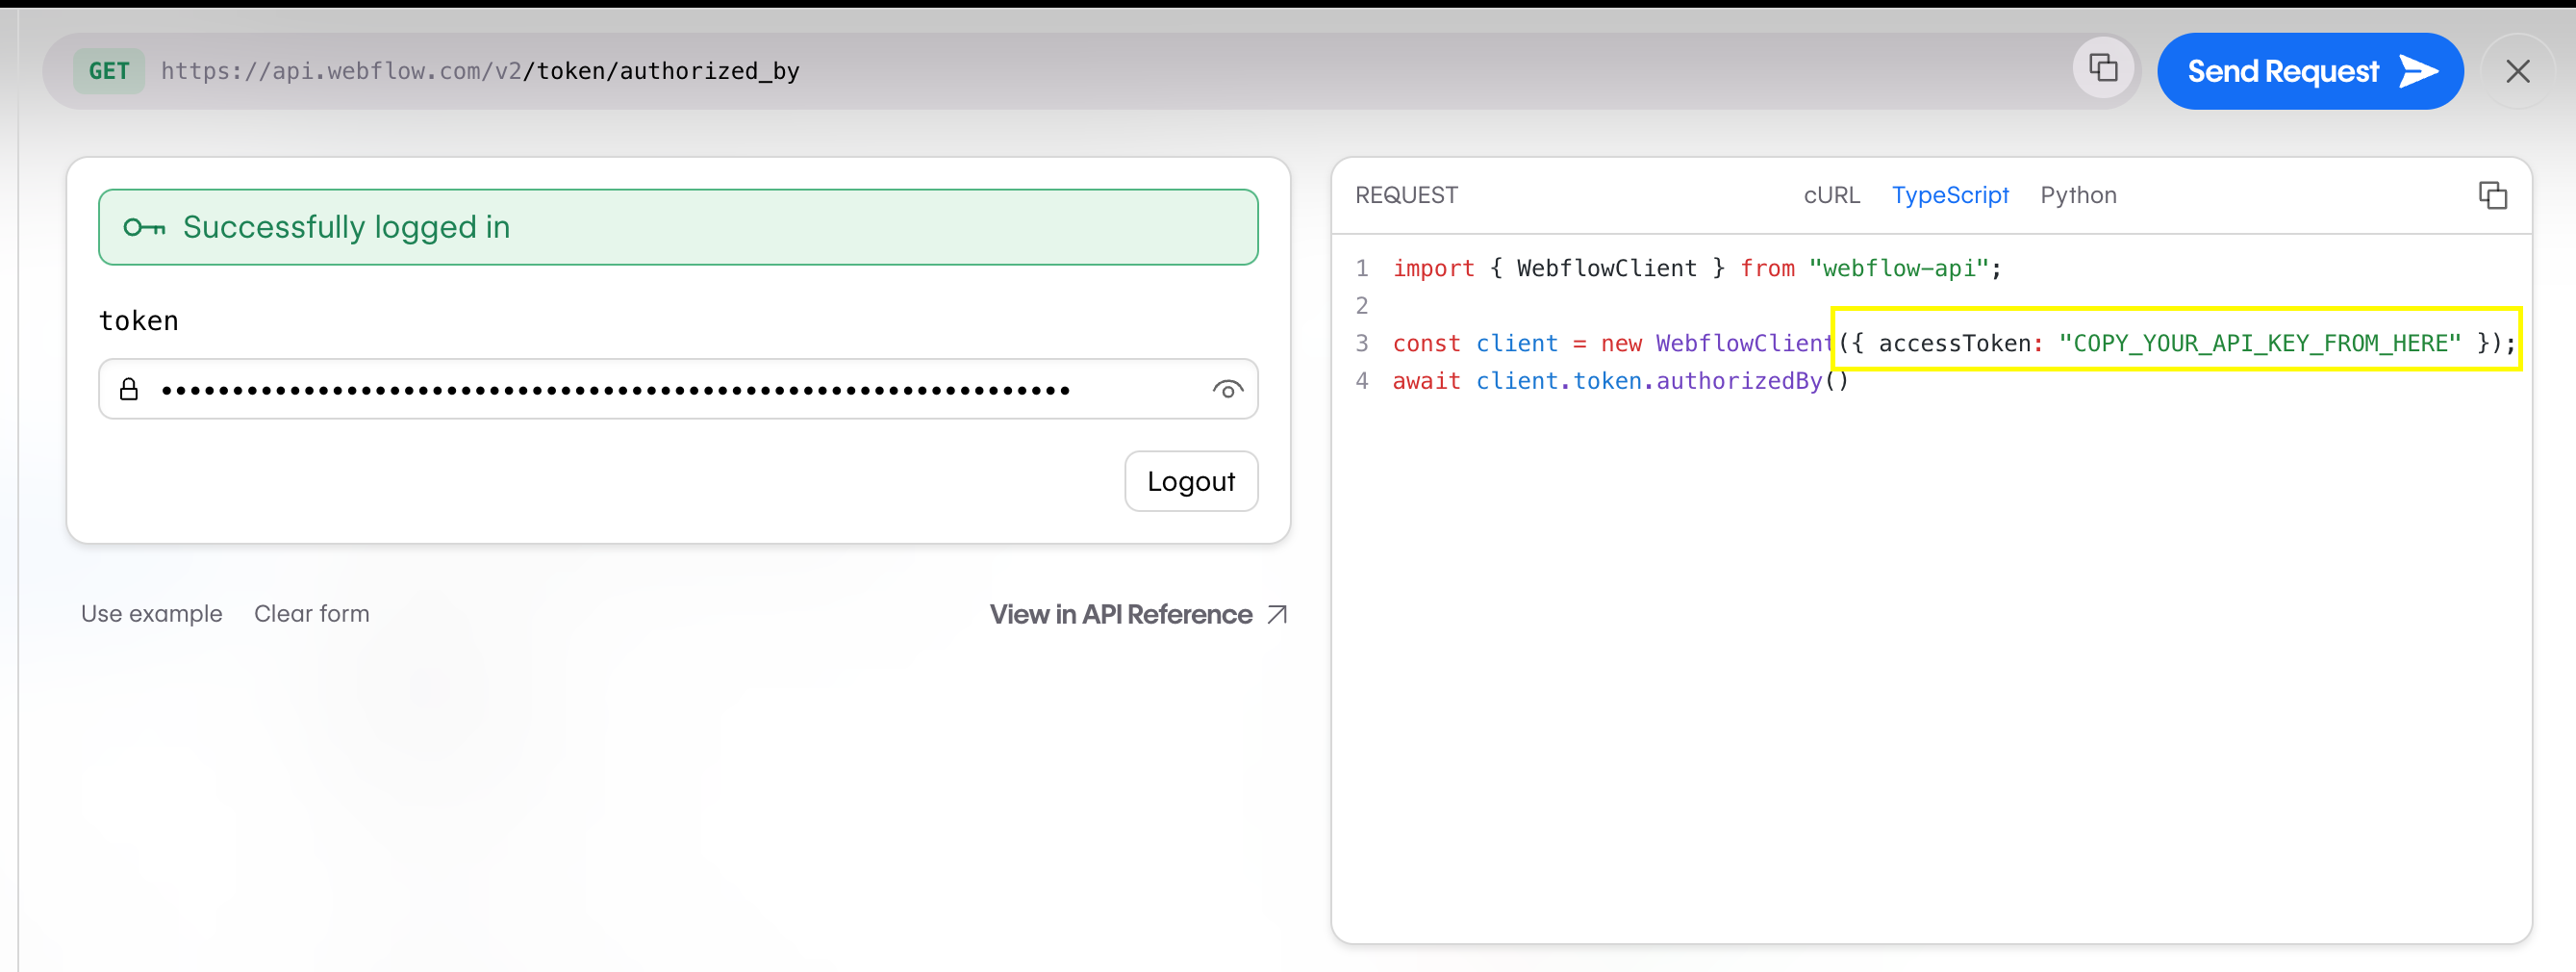
Get a Webflow API token from the Webflow API Playground
-
Add the following snippet to your client’s configuration file:
Remember to replace
YOUR_API_TOKENwith your actual Webflow API token. -
Add the MCP server to your AI client:
Cursor
Claude Desktop
Start interacting with the MCP server
In the “Chat” window, switch to “Agent Mode” and start interacting with the MCP server. You can ask the agent things like:- “When was my site last published?"
- "What were the last 5 CMS items published to this site?"
- "Based on my last 5 blog posts, can you generate some ideas for new blog posts?"
- "What are the current SEO issues on my site and how can I fix them?”
Send us feedback!
We’re just getting started with this, so we’d love to hear from you! If you’d like to see more tools or have any feedback, please log an issue on GitHub.


Documentation for LLMs
Webflow’s documentation is optimized for consumption by AI assistants, making it easier for these tools to generate accurate code examples and guidance.
- Use
https://developers.webflow.com/llms.txtto access the LLM-readable documentation. This optimized structure helps LLMs respond with accurate code snippets and multi-step sequences. - Additionally, you can access markdown versions of any documentation page to provide a more structured and context-rich experience for LLMs. To access the markdown version of a page, add
.mdto the end of the URL. For example, this current doc is available as a markdown file athttps://developers.webflow.com/data/docs/ai-tools.md.
Installing docs on Cursor
https://developers.webflow.com/llms.txtOnce configured, reference Webflow’s documentation by typing @Docs in your chat window and selecting “Webflow” from the list.
FAQs
Why is my MCP server not appearing in my AI client?
After installing the MCP server, you may need to restart your AI client to see the new server. Additionally, check to see that your client (for example, Cursor, Claude Desktop) is updated to the latest version.
Why are my requests to the MCP server failing?
Ensure you have a valid Webflow API token
- Go to Webflow’s API Playground, log in and generate a token, then copy the token from the Request Generator
- Replace
YOUR_WEBFLOW_TOKENin your MCP client configuration with the token you copied - Save and restart your MCP client
Troubleshooting Node.js and NPM issues
Ensure Node.js and NPM are properly installed
- Verify Node.js and NPM installation by running:
- If you encounter issues with npx, try clearing your NPM cache:
- If
npm -vonly works with sudo, you may need to fix NPM global package permissions. See the official NPM docs for more information.
If you make changes to your shell configuration, you may need to restart your shell for changes to take effect.