Custom attributes
Attributes are different characteristics associated with your visitors (for example, demographics, behavior, etc.).
If you want to target anything that isn’t available by default, you can use custom attributes to store and retrieve data about your visitors. Once a custom attribute is defined and set on a page visit, you can leverage it to define a rules-based audience or filter optimization results by the attribute.
How custom attributes work
Custom attributes are first defined in Webflow Optimize, and then set for a user or pageview by using the wf.setAttributes() method of the Browser API. By setting an attribute, you’re sending data to Webflow Optimize that can be used to create a rules-based audience or filter optimization results.
Configuring custom attributes
Create a custom attribute in Webflow Optimize
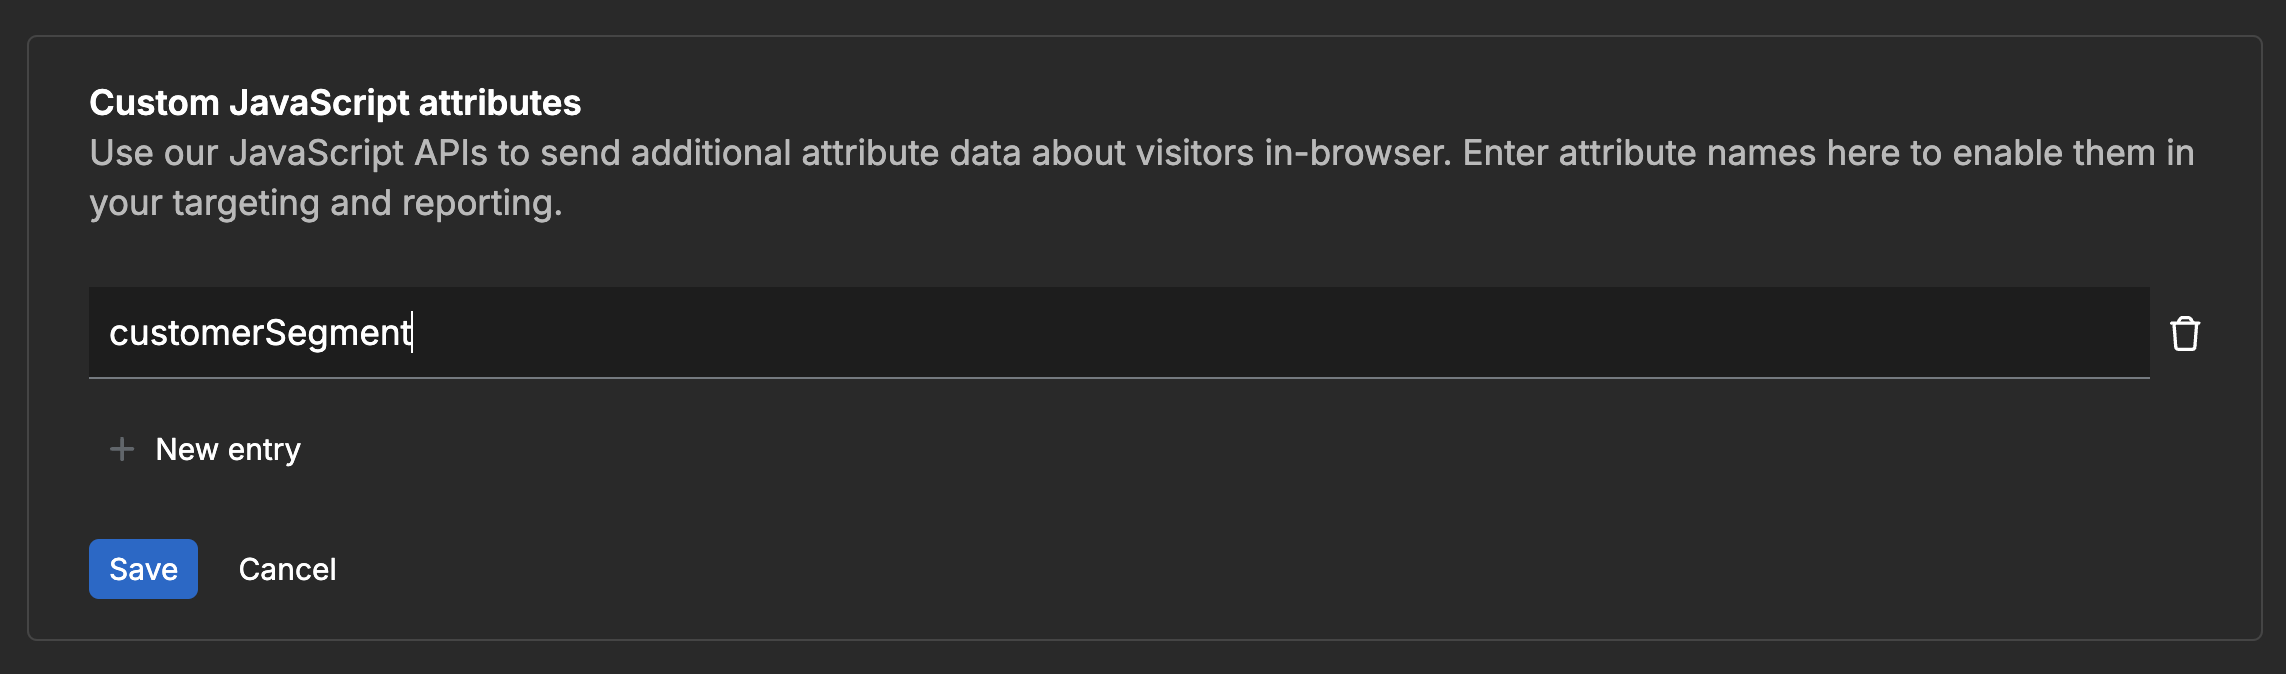
If you have an enterprise site, navigate to the Insights tab on your site and click Integrations. Find the Custom JavaScript attributes section and create a new entry.
Enterprise sites only
This method is only available on enterprise sites.
Set a custom attribute using the Browser API
Once configured, you can set custom attributes when a user visits your site by using wf.setAttributes(). See the example below, and the documentation for more details.
Scopes
Custom attributes can be set for a specific scope, which determines the lifetime of the attribute.
- Pageview: The attribute is available for the duration of a pageview.
- User: The attribute is available for the duration of a user’s session. A session begins when the visitor arrives on your site and ends after 30 minutes of sustained inactivity (like when the visitor stops engaging with your website).
Example:
Using custom attributes in Optimize
Once you’ve created and set a custom attribute, you can use it to create a rules-based audience or filter optimization results.
Create a rules-based audience to target visitors based on their custom attributes.
Filter optimization results by custom attributes.
Looking for more information?
Visit the Webflow Help Center to learn more about custom attributes and audiences in Webflow Optimize, including:
- Creating and managing custom attributes
- Building rules-based audiences
- Targeting visitors with custom attributes
- Best practices for audience segmentation
- Enterprise-specific features and capabilities
You can also explore Webflow University for additional tutorials and resources on making the most of Webflow Optimize’s personalization features.