Scopes
Available scopes
Available scopes are determined by the type of token you’re creating. For Data Client apps and site tokens, refer to the site-level scopes. For workspace tokens, refer to the workspace-level scopes.
Site-level
Workspace-level
custom_code:read and custom_code:write scopes are available only to Data Client apps. Site tokens cannot access custom code endpoints.Quick tip: Finding required scopes
Each API endpoint lists its required scopes in the description. When planning your integration, check the endpoints you’ll use to determine which scopes to request.
Understanding scopes
Scopes are permissions that control what data your app can access. Think of them like permissions on your phone - an app might request access to your camera, photos, or contacts. In Webflow’s API:
- Each scope gives access to specific resources
- Scopes usually come in pairs:
:readfor viewing data,:writefor modifying data - Users will see and approve these permissions when connecting to your app
Best practice
Only request scopes your app actually needs. Requesting unnecessary scopes can make users hesitant to approve your app.
Adding scopes
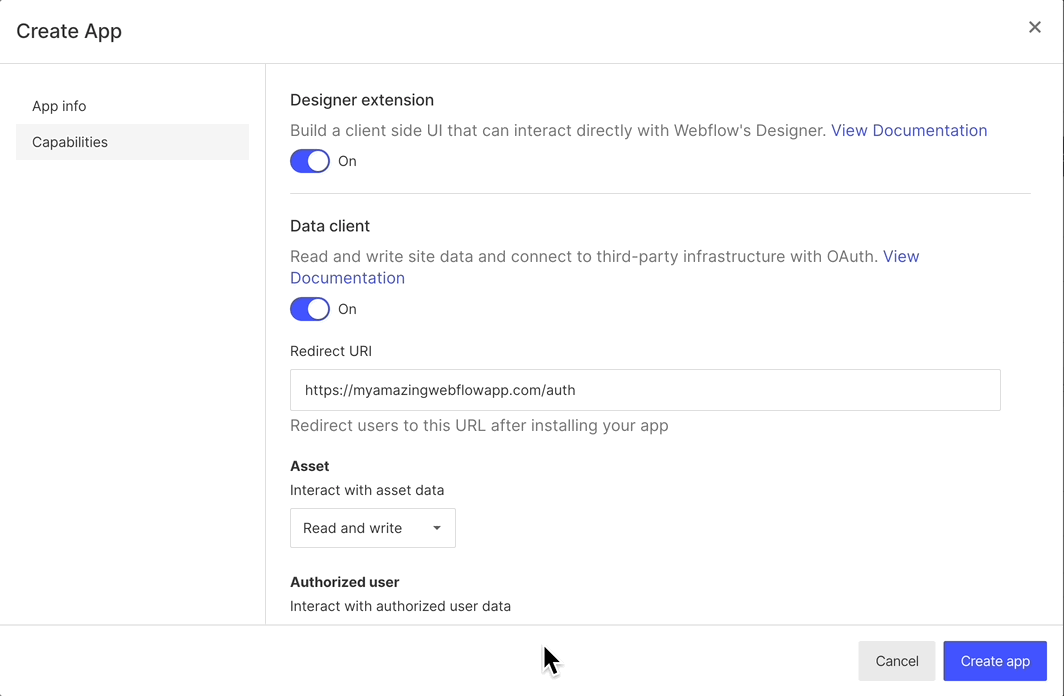
When creating a Data Client App or an API token, you’ll first register your required scopes:
Data Client App
API Token
During app registration, select the scopes that match your app’s required functionality. These scopes define what data your app can access.
Using scopes in OAuth
After registration, you’ll use these same scopes in your Authorization URL during the OAuth flow. This shows users an authorization page where they can review and approve your requested permissions.
See our authorization guide for step-by-step OAuth implementation.