Getting Started
In this guide, you’ll create your first Data Client app to authorize with Webflow and make your first API request.
Prerequisites
To successfully follow along with this guide, make sure you have the following:
- A Webflow site for development and testing
- A registered app on your Workspace. If you haven’t registered an app, follow along with our registration guide to create and register your first app with Webflow.
- The
sites:readscope enabled on your app - Node.js installed on your machine.
Quick Start (5 minutes)
Add your credentials to .env
Navigate to your Workspace settings in the Webflow dashboard and find your Client ID and Secret in the Apps & Integrations -> App Development section. Replace the placeholder values in the .env.example file with your own Client ID and Secret. Then save the file as .env.
Understanding the example
This example is a simple Node.js app that handles authorization and makes a single request to the Webflow API.
Review the code in server.jsto understand how the App works.
Installation and configuration
The app uses Fastify to create a lightweight server, Level as a database, and the Webflow JavaScript SDK to make authenticated requests to the Webflow API. To keep things simple, the frontend of the app is built with vanilla JavaScript and CSS, with a simple HTML file served from the public directory.
In the beginning of server.js, imports the necessary dependencies, loads environment variables, and initializes the Fastify server. Here, security headers are added to the server to protect against common web vulnerabilities. Also, it initializes the database for storing access tokens.
OAuth Authentication
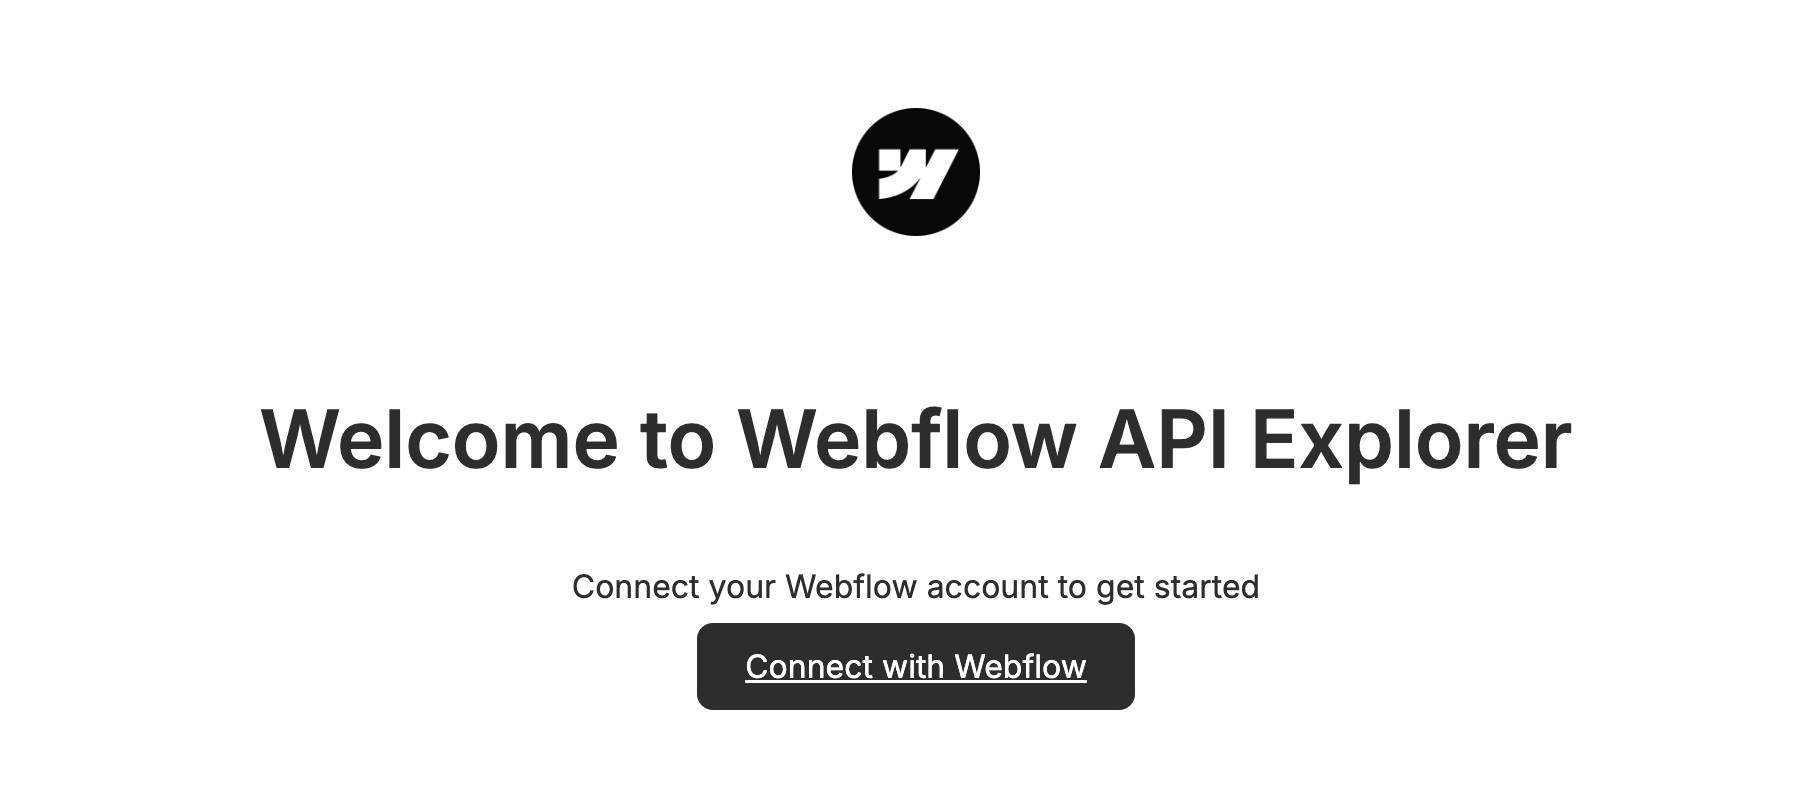
The App implements OAuth 2.0 authentication through a dedicated /auth route that handles both initiating the authorization flow and processing Webflow’s callback response. When a user clicks “Connect with Webflow”, this route first redirects them to Webflow’s authorization page. After the user grants permission, Webflow redirects back to this route with an authorization code that the App exchanges for an access token.
For a comprehensive walkthrough of implementing OAuth 2.0 authentication in your App, refer to the detailed OAuth 2.0 guide.
Start the OAuth 2.0 authorization flow
This route will check for a code query parameter. If the code isn’t present, Webflow will redirect the user to the Webflow OAuth 2.0 authorization page using the authorizeURL method of the Webflow JavaScript SDK.
Request an access token
If the code query parameter is present, we’ll use it to request an access token from Webflow using the getAccessToken method of the Webflow JavaScript SDK. We’ll also store the access token in the database and redirect the user to the root URL of the App.
The example App stores and retrieves a single access token directly in the Level database. In a production app, you’ll want to implement proper user management and token storage, including:
- Storing tokens securely per user/workspace
- Encrypting sensitive data
- Using secure session management
Consider using dedicated auth services or implementing these security measures using libraries like Passport.js, JWT tokens, and proper database encryption.
Making requests to the REST API
After the user has authorized the App, it can make requests to the REST API using the WebflowClient object. Here, the /sites route makes a request to the “List Sites” endpoint.
Before calling the API, the App retrieves the access token from the database and creates a new, authenticated WebflowClient object.
Next Steps
Now that you have a working app, you can:
- Add more API endpoints: Explore the API Reference and the Data Client Guides to add functionality
- Add Designer Extension capabilities: Learn how to add Designer Extension capabilities to your App.
- Authenticate a Hybrid App: Learn how to implement authentication for Apps using Data Client and Designer Extension capabilities.
- Prepare your Marketplace app: Learn how to prepare your App for submission to the Webflow Marketplace

