App registration and installation
Embarking on your journey with Webflow Apps? You're in the right place! This comprehensive guide will define the path to successfully creating, registering, and installing your app with Webflow. By the end of this guide, you'll have a firm grasp on:
- Creating an App in Webflow
- Powering your App with capabilities
- Installing your App to a Site
Create an App in Webflow
Begin at the Dashboard: Kickstart your journey by logging into your Webflow account and heading straight to your Dashboard.

Choose your Workspace: Select the Workspace that will serve as the birthplace of your innovative App.
Navigate to App Development: Within your Workspace's Settings page, select the Integrations Tab and scroll to the "App Development" section. This is your command center for managing all your Webflow apps. Any existing apps will be in the "Workspace Apps" section.

Create: Click the "Create an app" button to open the gateway to app creation.
Detail your App: Fill out the form with your App's unique details:
- Name: The name of your App, as it will proudly appear to users.
- Description: A concise yet informative summary of your App's superpowers.
- Homepage URL:The webpage users can visit for more information about your App. This link must be a valid HTTPS link, and can be updated at any time.
- Icon: A visual representation of your App, set to make a grand appearance on the grant screen.
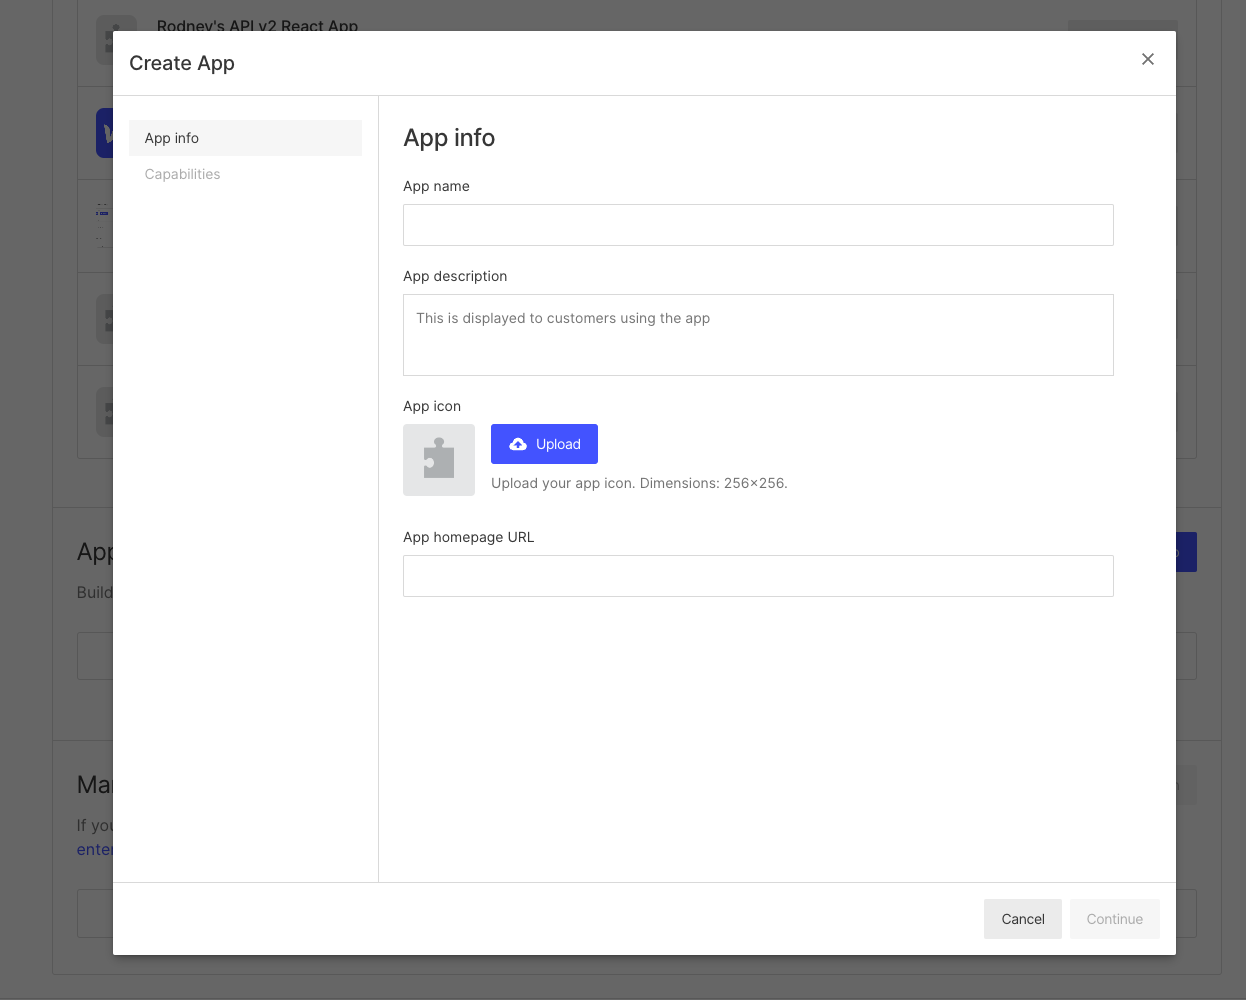
- Continue: Click the "Continue" button to define your App's App Capabilities
Don't have a HTTPS link for your homepage yet?
That's perfectly alright! If you're getting started by developing locally, you can use a free tool like ngrok to create a valid https link to a local server. Install ngrok, and then create a tunnel to the port where you'll server your app.
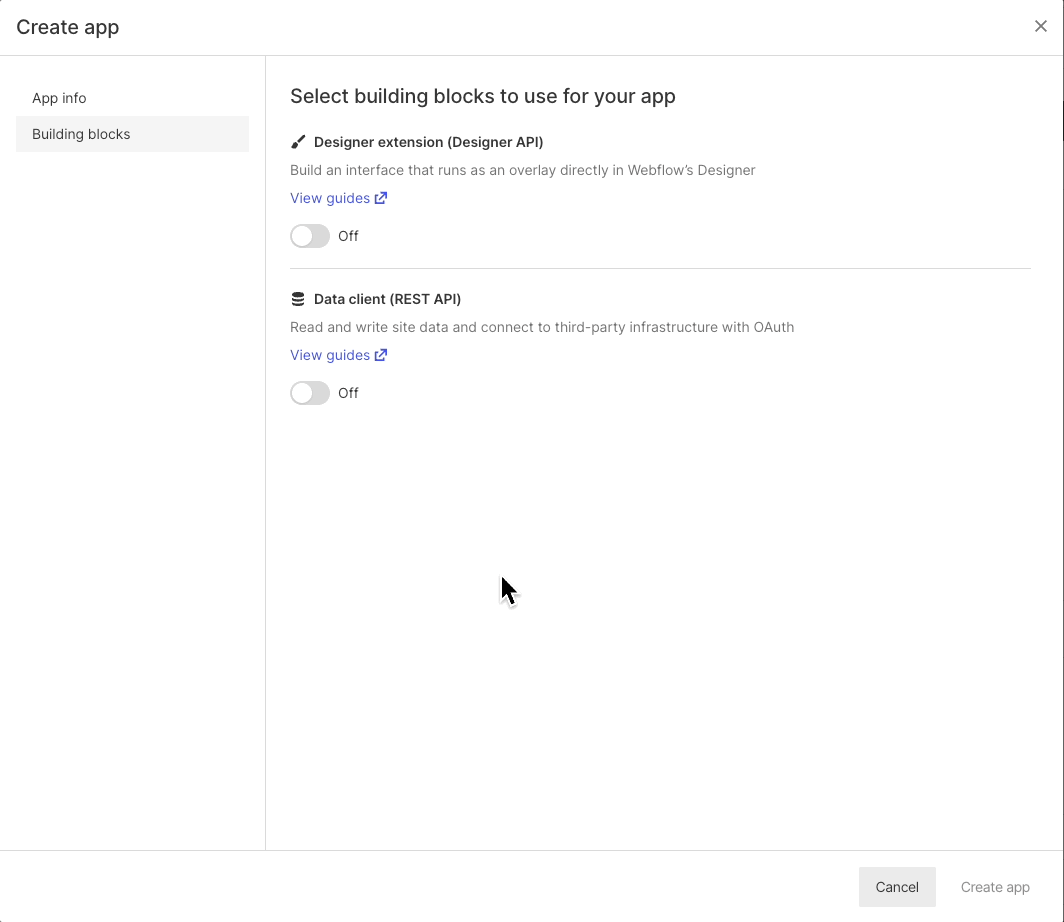
Defining your App's capabilities
- On the next screen, enable the capabilities you want your App to have.
- If your application is using Data Client capabilities, be sure to:
- Include a URI that will guide users back to your App after they've authorized the App with Webflow and installed it to their Workspace and/or Site.
- Select the required scopes your app needs to function. Learn more about scopes in our short guide.
- When you're finished configuring your App's capabilities, click the "Create app" button.
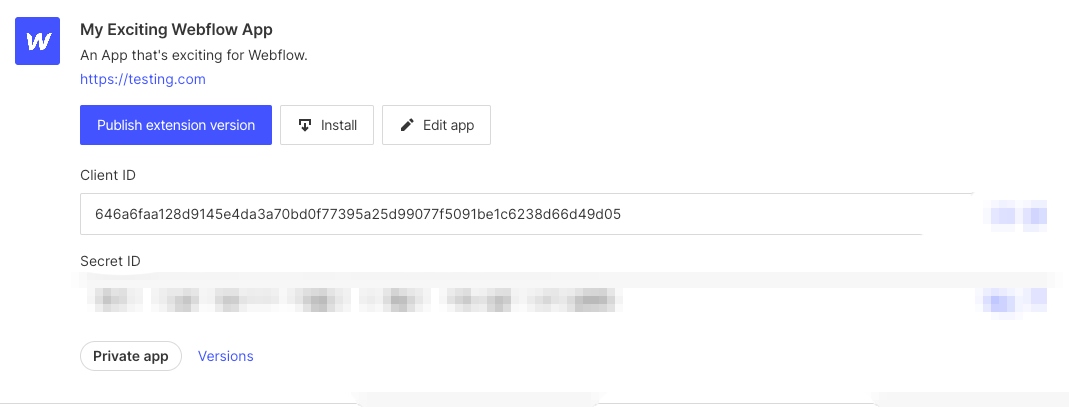
Congratulations, you've crafted your App in Webflow! Upon successful creation, you'll be presented with your App's Client ID and Secret ID, your keys to authorizing and installing your App to a site.
Install your App to a Site
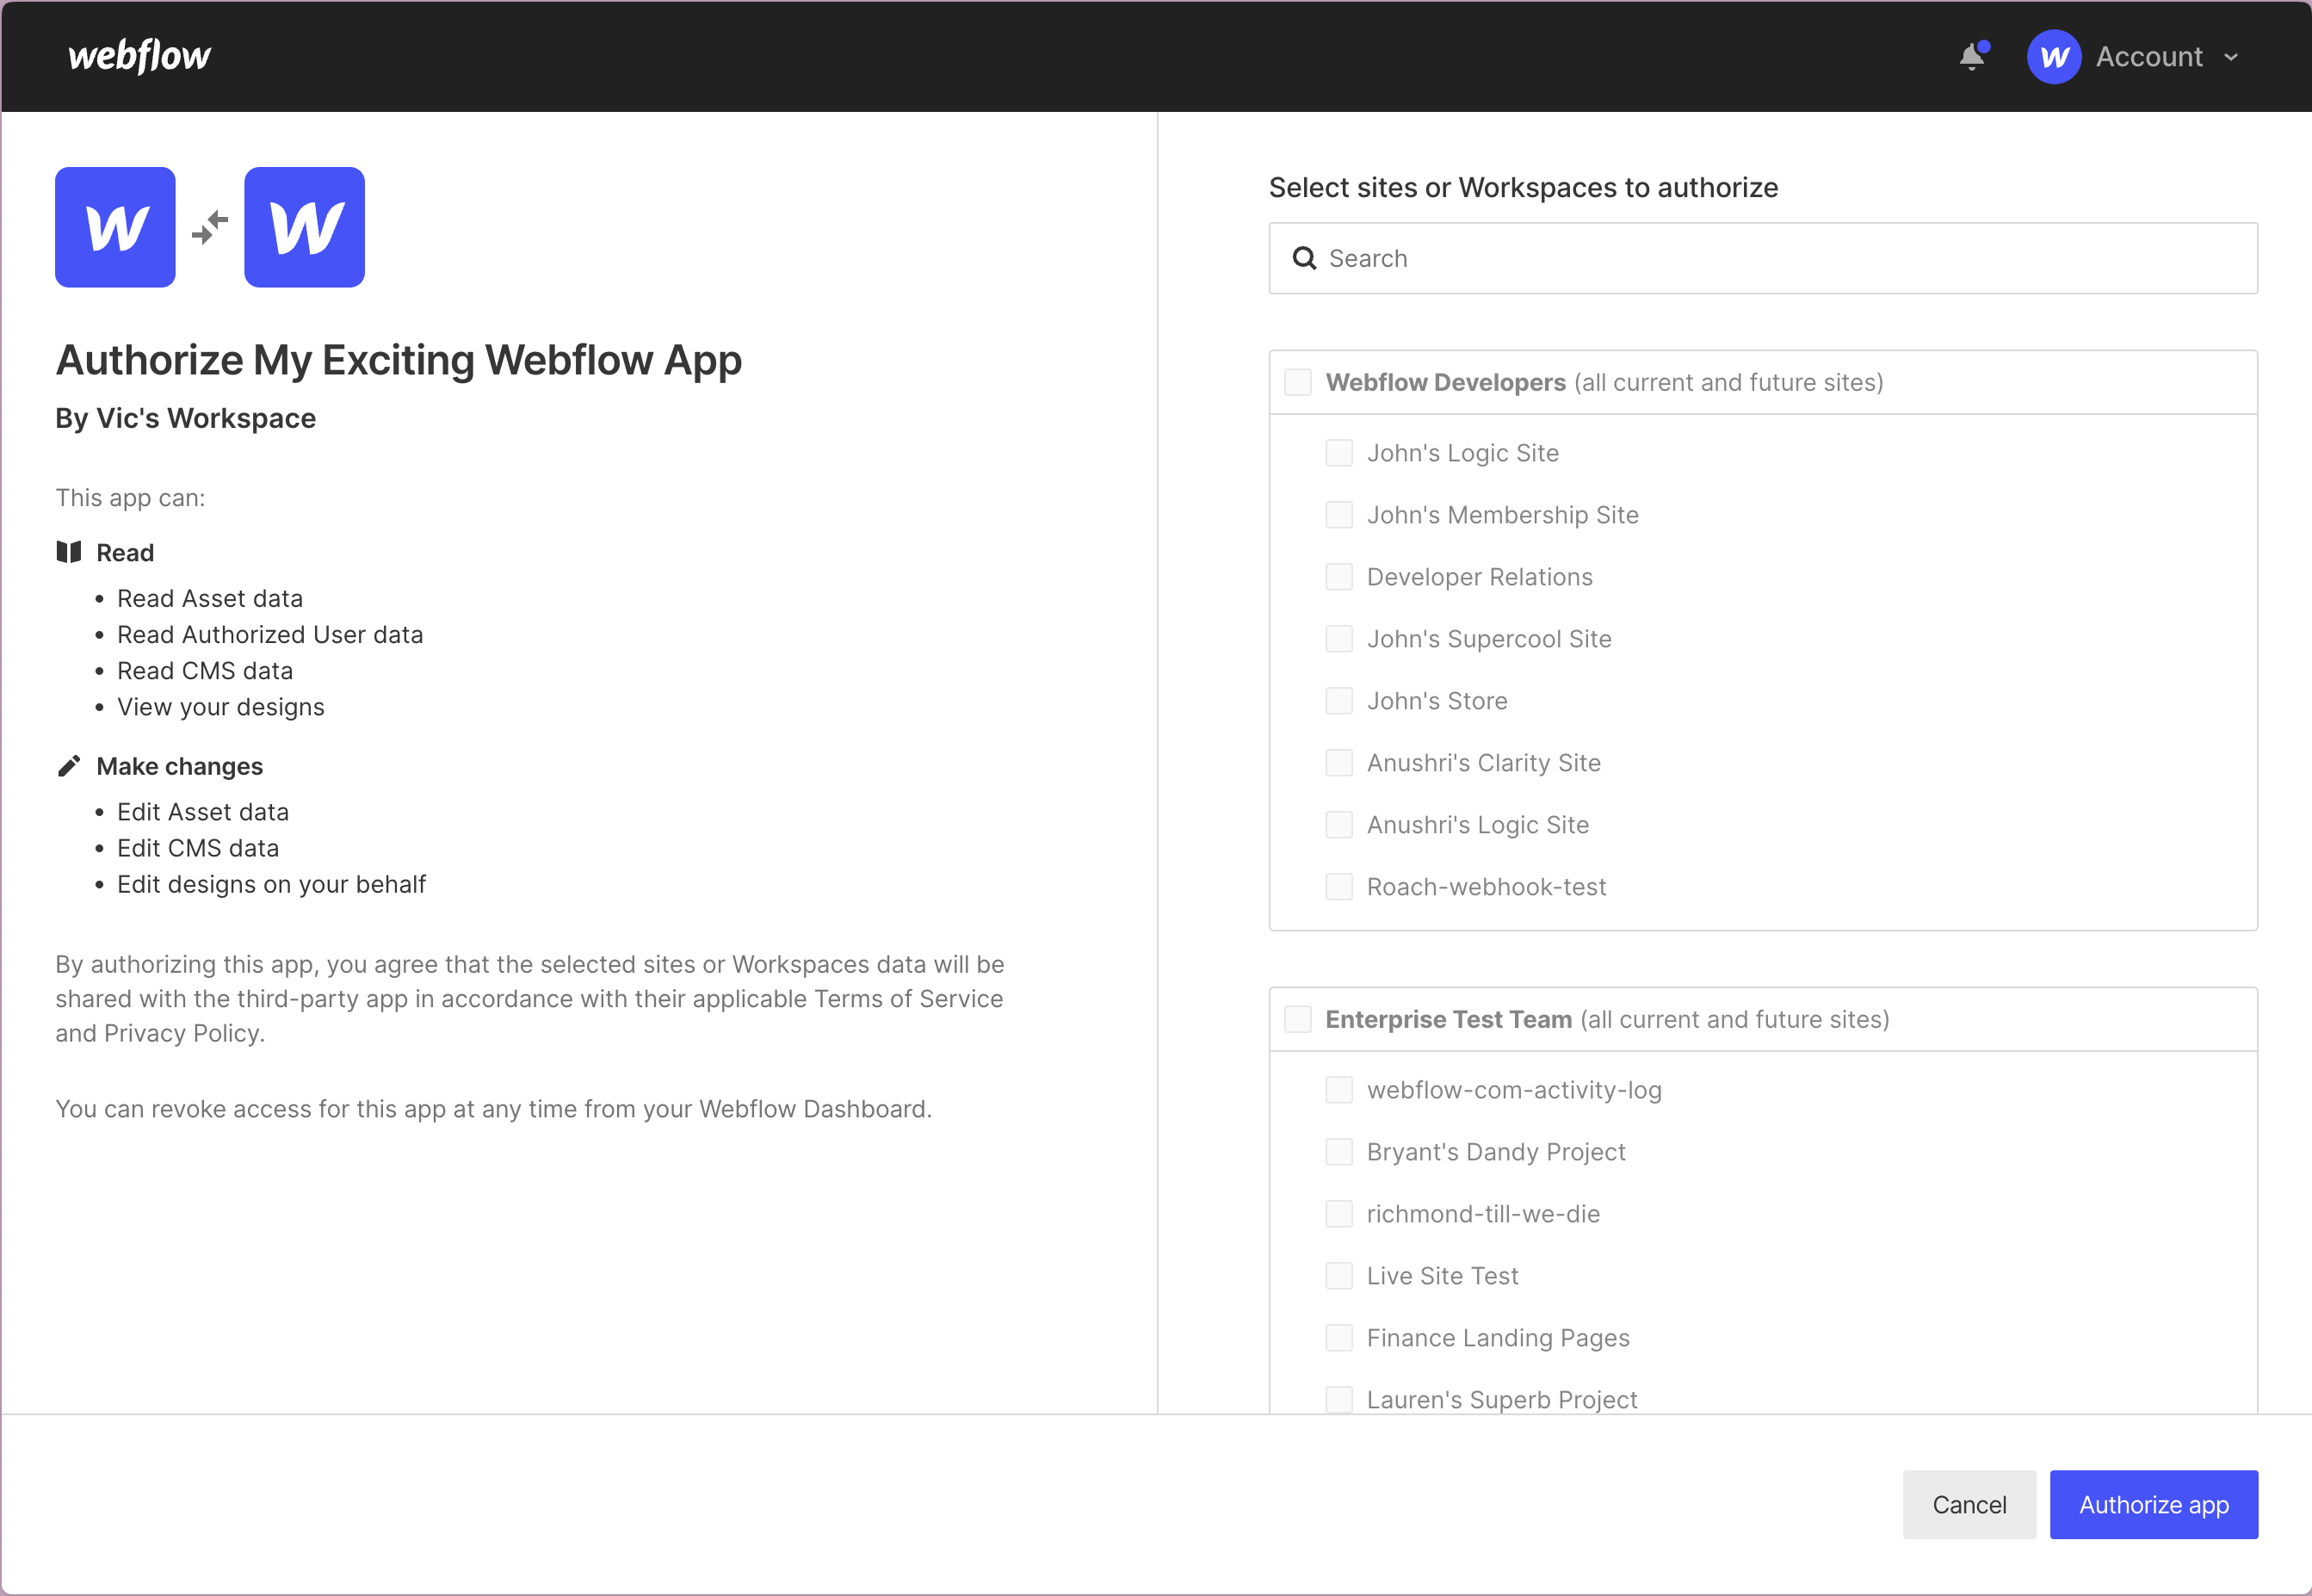
You'll want to install your app in a test site specifically used for the development of your app. This will ensure you have a safe place to build.
- In the App Development section of the Settings: Integrations page, navigate to your App and click on the “Install” button.
- After selecting “Install”, you’ll be brought to an authorization screen where you’ll be able to select the specific sites you want your App to have access to.
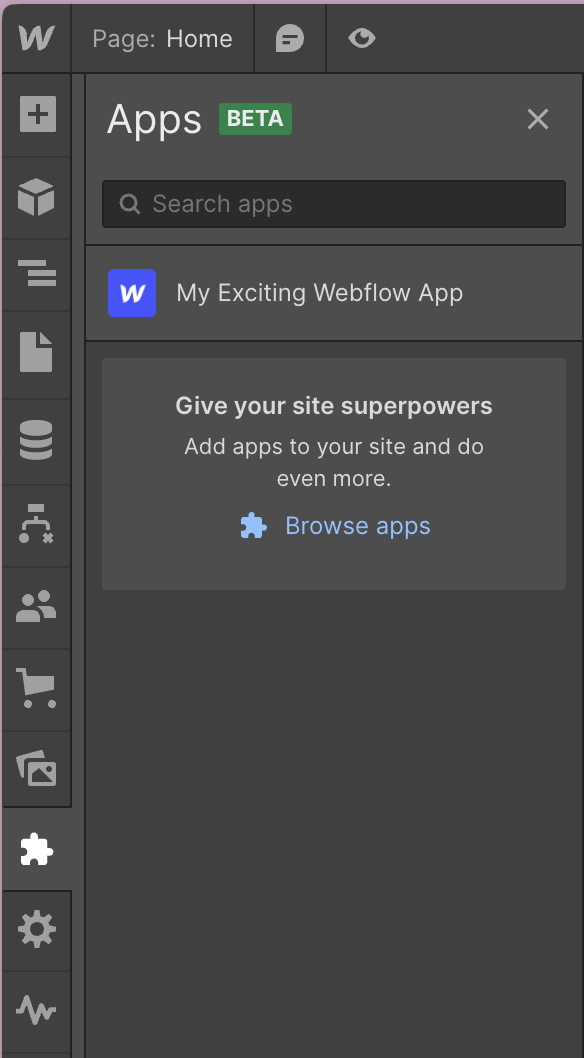
- After choosing your sites, hit the “Authorize app” button. Once your app has been authorized you'll be able to find it in the Apps section of the Designer as well as the Integrations Section of your Workspace and/or Site Settings.
 |
 |
Updated 8 months ago