Claude Desktop
Webflow provides a connector that provides Claude Desktop with direct access to the Webflow MCP server. If you prefer, you can connect manually, as described in Connecting Claude Desktop manually.
Using the Claude connector
Open the list of connectors
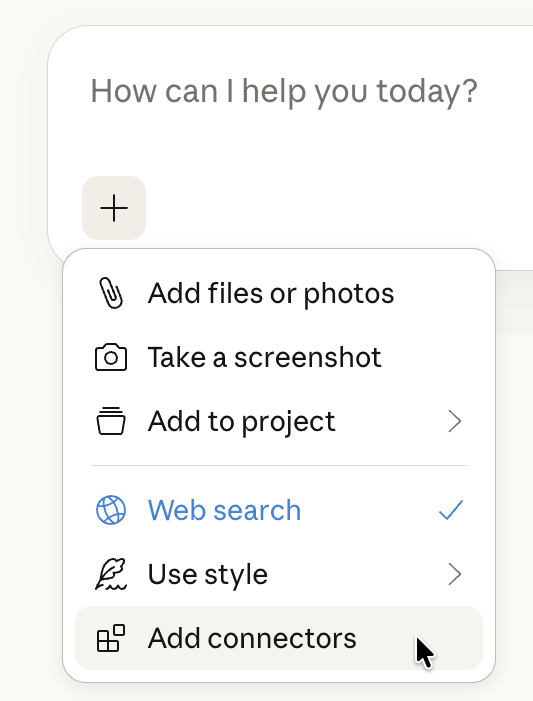
In the Claude chat window, click the + symbol and then click Add connectors.
Find the Webflow connector
Search for the Webflow connector by name. You may need to select All instead of Featured to see it.
Grant access
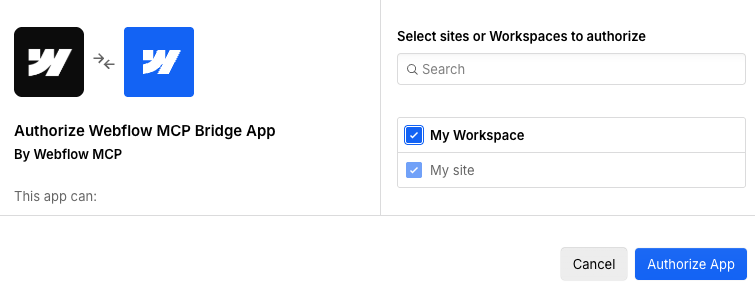
Grant Claude access to your Webflow account and log in to your Webflow account if you are prompted to do so.
Connecting Claude Desktop manually
To add the MCP server to Claude Desktop manually, you can create a custom connector as described in Get started with custom connectors using remote MCP.
Use the URL https://mcp.webflow.com/mcp for the main MCP server or the URL https://mcp.webflow.com/beta/mcp for the Beta MCP server.
Then when you install the connector, select the sites and Workspaces to give Claude access to.
Next steps
Now that you’ve installed the MCP server, explore what you can do:
Browse ready-to-use prompts for image optimization, SEO audits, style refactoring, and more.
Install skills that help you accomplish common Webflow tasks through natural language.
Understand the architecture, authentication, and how the MCP server connects to Webflow’s APIs.