Postman
Webflow is a verified MCP server in Postman, so you can connect from https://www.postman.com/explore/mcp-servers or search to add Webflow from your workspace.
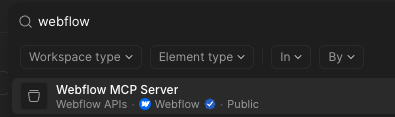
Find the Webflow MCP server
In the main Postman search box, search for Webflow and select Webflow MCP Server.
The Webflow Data API appears in the list of collections and the Postman agent connects to the Webflow MCP server.
Next steps
Now that you’ve installed the MCP server, explore what you can do:
Explore the prompt library
Browse ready-to-use prompts for image optimization, SEO audits, style refactoring, and more.
Use skills
Install skills that help you accomplish common Webflow tasks through natural language.
Learn how it works
Understand the architecture, authentication, and how the MCP server connects to Webflow’s APIs.