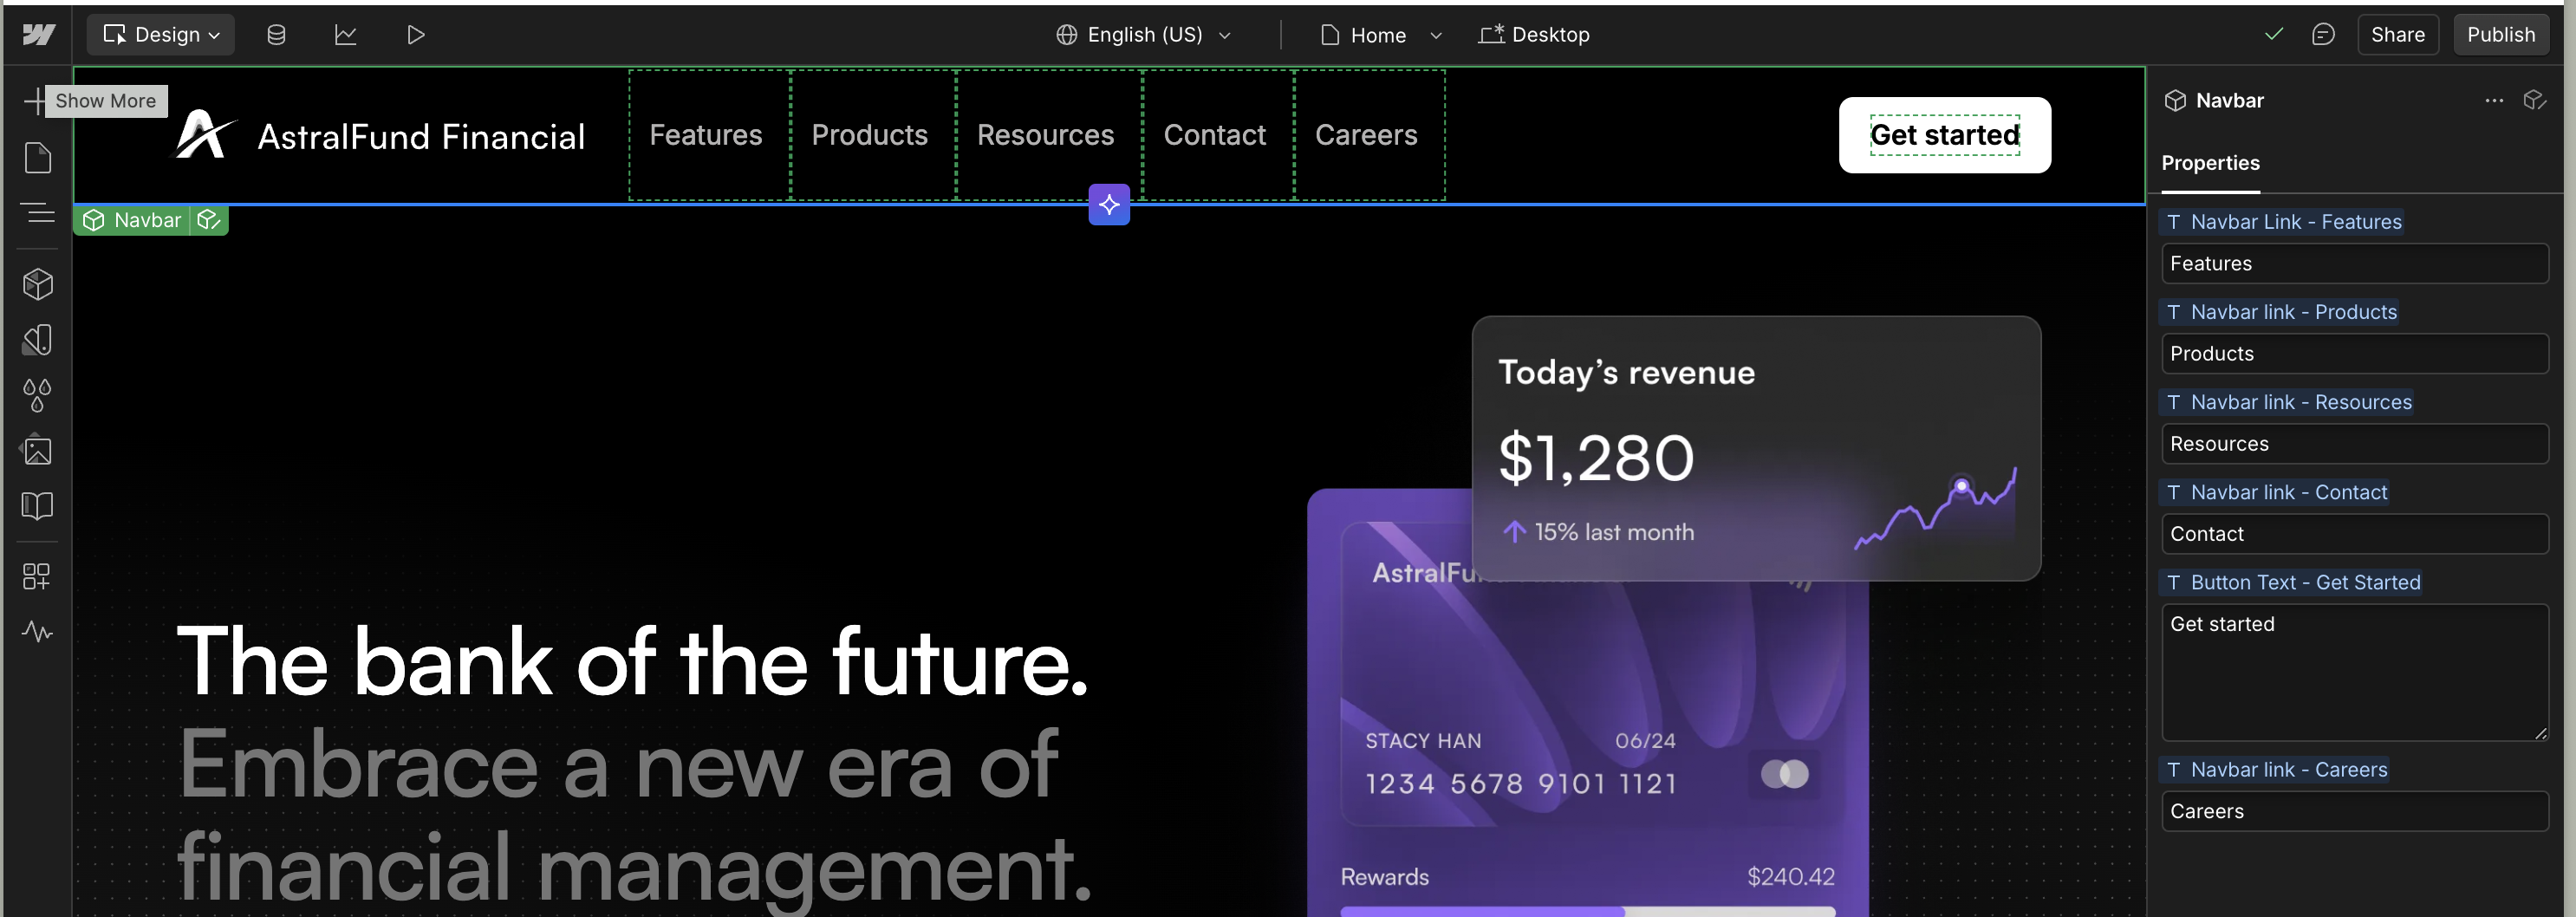
Getting Started with Exported Components
In this guide, you’ll learn how to configure DevLink and export components to a React project. While this guide uses Next.js, Code Export works with any React-based framework.
Before you start
Before running this quickstart, make sure you have:
- A Webflow account and Webflow site with components to export. Or, use a Code Export template from the Webflow marketplace. DevLink templates are pre-configured with components and styles optimized for React.
- Node.js v20.0.0 or higher and
npminstalled - Basic familiarity with React
1. Configure DevLink in your app
Create a Next.js project
To start with a fresh Next.js project, run the following command in your terminal:
Follow the prompts to configure your project with your preferred options.
Authenticate with Webflow
DevLink requires API access to your site to export your design system. To grant access, run the following command in your terminal to start an authentication workflow:
This command will open an authentication screen in your browser. Follow the prompts to authenticate with Webflow. Once authenticated, the CLI will create a .env file in the root of your project with your Site ID and API token.
Existing .env file
If you already have a .env file in your project, the CLI will require you to add a --force flag to make changes.
Configure DevLink settings
Create a webflow.json file in the root of your project and paste the following configuration:
This configuration file tells DevLink where to export your components and how to handle CSS modules. Learn more about the configuration file in the configuration file reference.
2. Prepare your Webflow components
In your Webflow project, prepare any components you want to export to your React project by:
- Selecting an element or group of elements
- Right-clicking and selecting “Create Component”
- Naming your component (use clear, descriptive names)

Only elements that have been converted to Components can be exported via DevLink.
3. Export and use your components
Export your components
Run the DevLink sync command to export your Webflow components to your React project:
This will create a devlink directory in your project containing:
- React components for each of your Webflow components
- CSS modules for component-specific styling
- A global CSS file for shared styles
- A
DevLinkProvidercomponent for handling interactions
Add the global DevLink styles
Many of the code snippets import from the DevLink directory with the @/devlink alias. See the troubleshooting guide for more information on how to set this up in your project.
In your app/layout.tsx file, import the global CSS file generated by DevLink to ensure all Webflow components have access to necessary styles and Webflow style resets. Additionally, if your Webflow components have interactions set on elements, wrap your application in the DevLinkProvider component to enable those interactions at runtime:
Use your components
Now you can import and use your Webflow components in your application. In this particular example, it uses three components exported from Webflow via DevLink: Hero, Card, and Button. You can use them in your application like so:
Updating your components
When you make changes to your components in Webflow, simply run the sync command again to update them in your React project:
This will update all your components while preserving any custom code or props you’ve added in your React application.
Common issues and solutions
Authentication Error
If you encounter authentication issues:
- Verify your API token has the correct permissions
- Ensure your environment variables are properly loaded
- Check that the
webflow.jsonfile is in the root directory
Missing Styles
If your components don’t look the same as in Webflow:
- Ensure you’ve imported
global.cssin your application - Import any additional fonts used on your site to your layout file
- Verify that the
DevLinkProvideris properly set up - Check for CSS conflicts with other styles in your project
Component Not Found
If a component isn’t available after syncing:
- Make sure it’s properly created as a Component in Webflow
- Check if it uses only supported elements