Getting started
In this guide, you’ll use the Webflow Cloud deploy wizard to create a new app from an Astro or Next.js starter template. The wizard clones the template into your GitHub account, creates the Webflow Cloud app, configures the first environment, and starts the first deployment.
Time Estimate: 10 minutes
Prerequisites:
- A Webflow account
- A GitHub account
- Permission to create apps in your Webflow Workspace
- Permission to install the Webflow Cloud GitHub App on the GitHub account or organization where you want to create the repository
Fast path: one-click deploy
To create an app from a ready-to-deploy Astro starter quickly, click this button and follow the steps to deploy it to Webflow Cloud:

The deploy wizard opens with the repository, branch, app name, mount path, and framework prefilled. You can review the configuration, connect GitHub if needed, and deploy the app.
Getting started
Follow these steps to deploy an application from a starter template with the Webflow Cloud deploy wizard.
1. Open the deploy wizard
You can go directly to the deploy wizard by clicking this link. Or, from your Webflow Dashboard, open the Workspace where you want to create the app and click Create app. In an empty Workspace, click Deploy app. This opens the Webflow Cloud deploy wizard.
2. Connect GitHub
Click Login to GitHub and authorize Webflow Cloud. When prompted, install the Webflow Cloud GitHub App for the account or organization where the new template repository should be created.

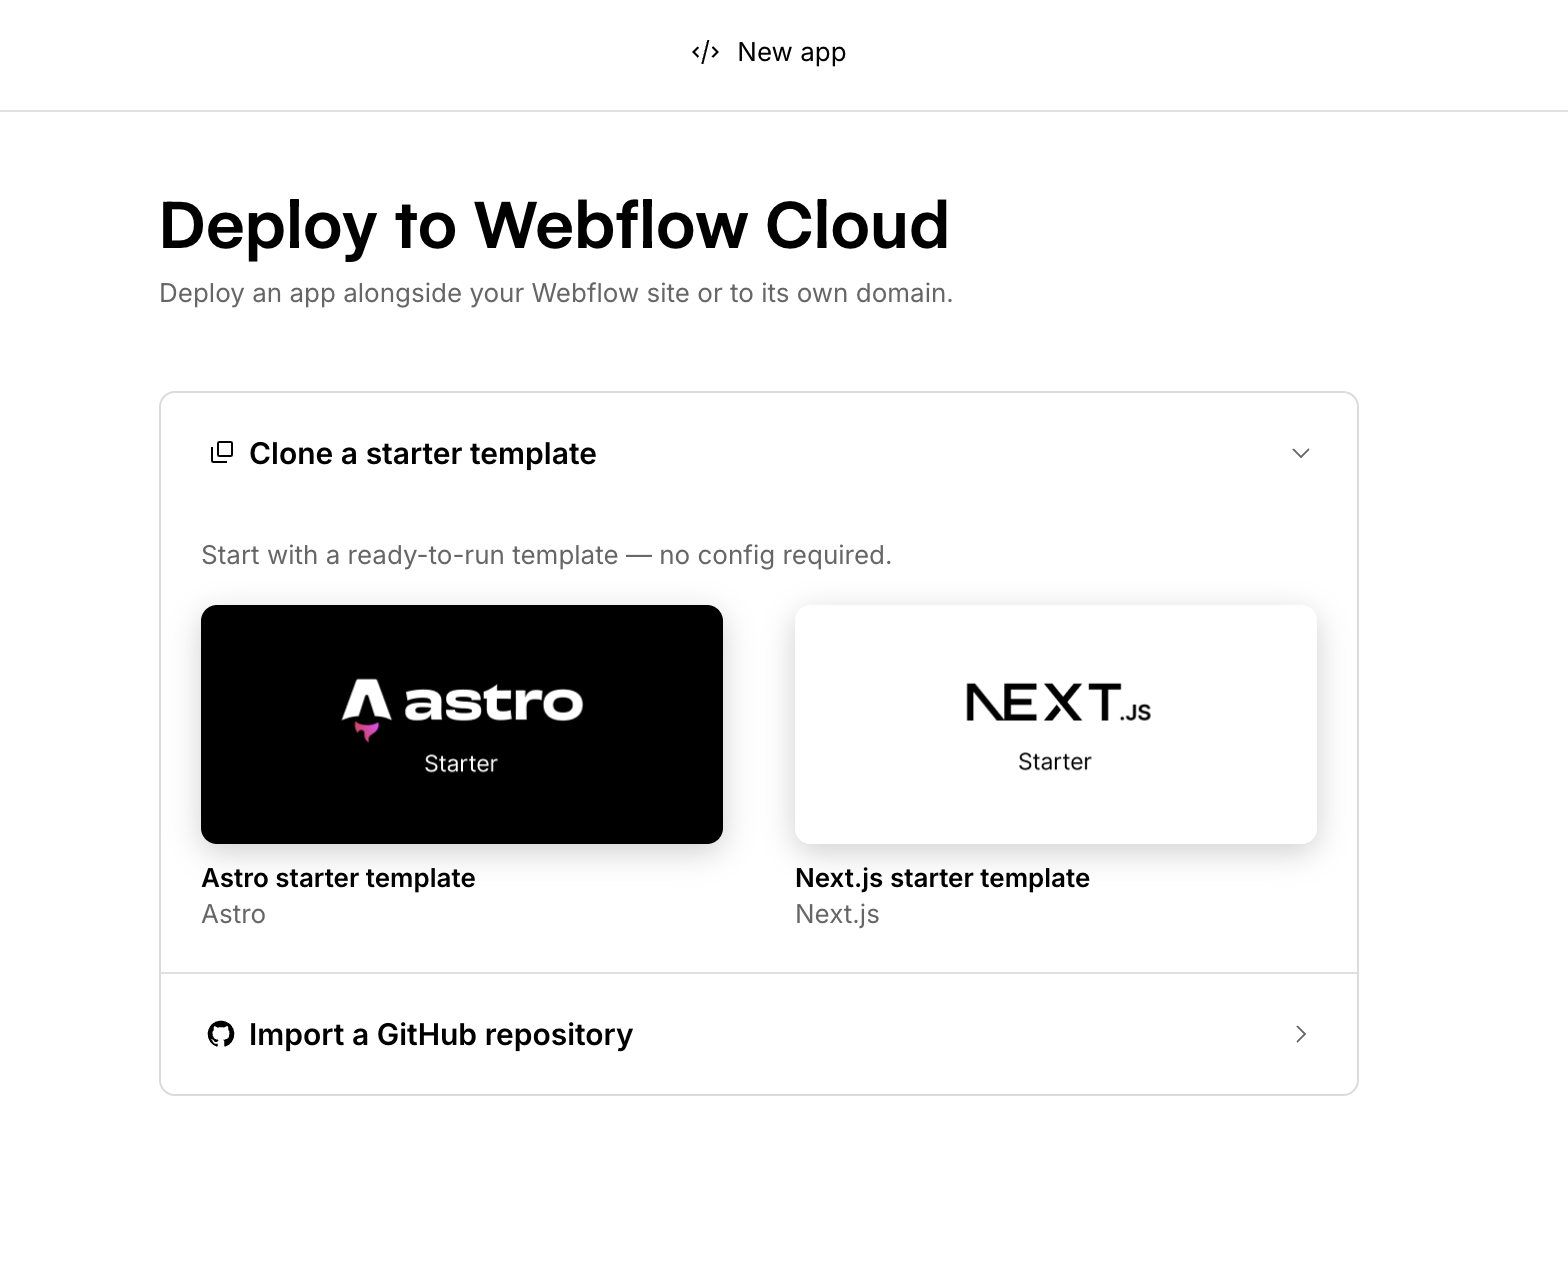
3. Clone a starter template
In the deploy wizard, open Clone a starter template and choose either the Astro or Next.js starter template. These templates are ready to deploy on Webflow Cloud.
4. Configure the new app
Enter an app name, choose the Webflow Workspace, and select the GitHub account or organization where Webflow Cloud should create the repository. For a first app, choose New domain as the deployment target. This creates a standalone Webflow Cloud app with its own domain.
To deploy the template onto an existing Webflow site instead, choose Existing site and enter a mount path such as /app.
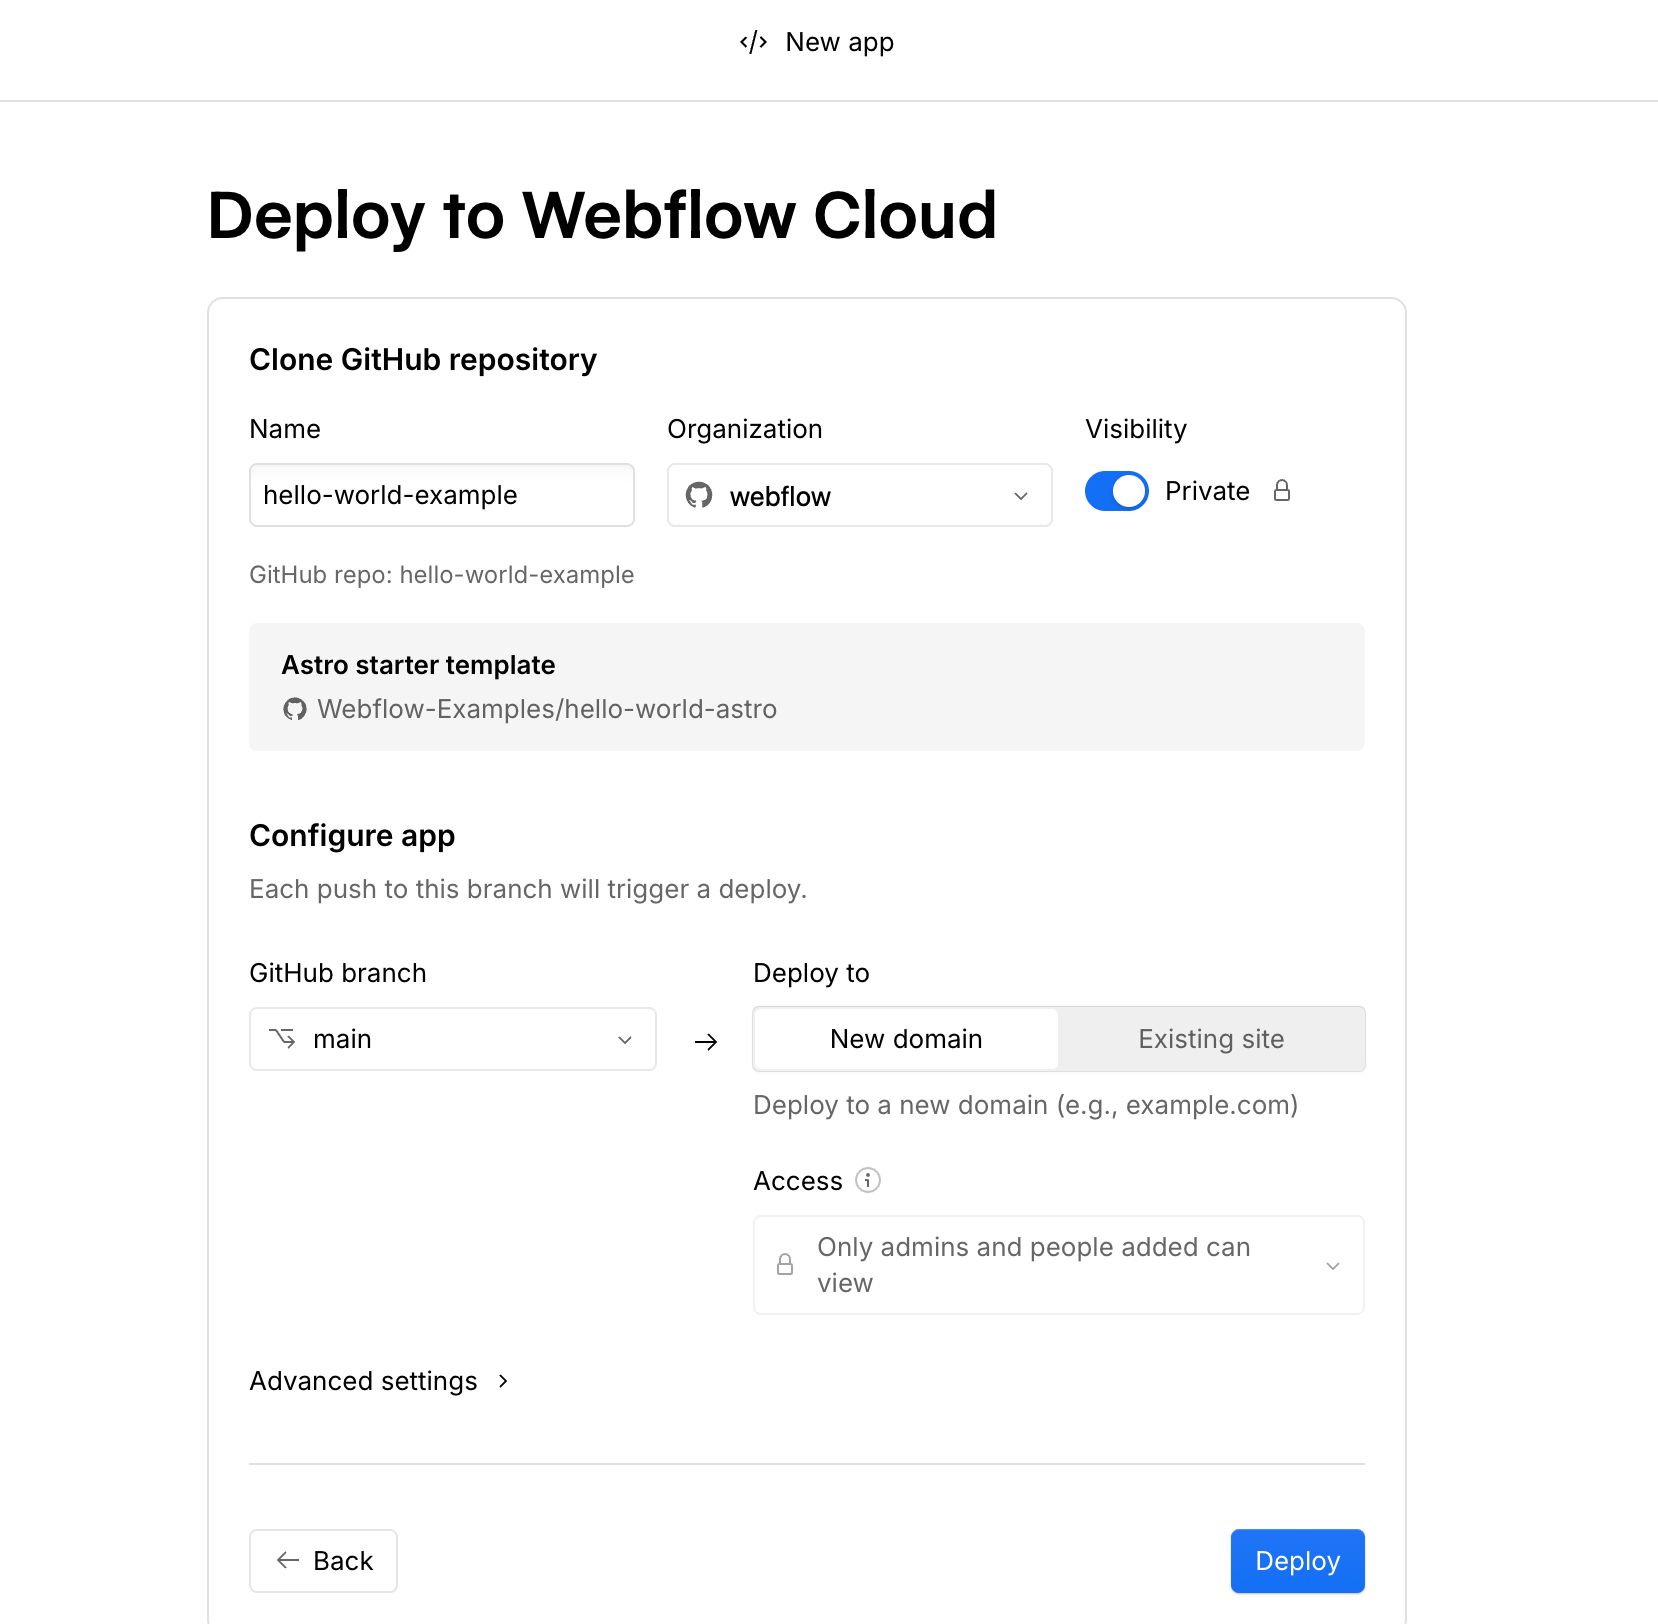
5. Deploy the app
Click Deploy. Webflow Cloud clones the starter template into the selected GitHub account or organization, creates the app and environment, and starts the first deployment. If GitHub asks you to grant repository permissions during deployment, approve the request and retry the deployment.
6. View and manage your app
When the deployment succeeds, open the deployed app from the success screen or manage it from the Webflow Cloud dashboard. Future pushes to the deployed branch will start new deployments automatically.
Next steps
Now that you’ve deployed your first Webflow Cloud app, here’s what you can do next.
Configure an existing Astro or Next.js app for Webflow Cloud.
Create a deploy button for a GitHub repository.
Learn how environments map branches to deployed app paths.
Troubleshooting
A deployment doesn't start when I push to my GitHub repository
The Webflow Cloud GitHub App may not have access to your repository. Open the app or environment settings in Webflow Cloud and install or update the GitHub App permissions for the repository.
My deployment failed
Open the environment and review the build logs. If GitHub asks you to grant repository permissions during the first deployment, approve the request and retry the deployment.
I'm seeing a 404 error when I try to access an app
For an app on its own domain, verify that the latest deployment succeeded.