

ChatGPT
Webflow provides an app that gives ChatGPT direct access to the Webflow MCP server.
Using the Webflow app
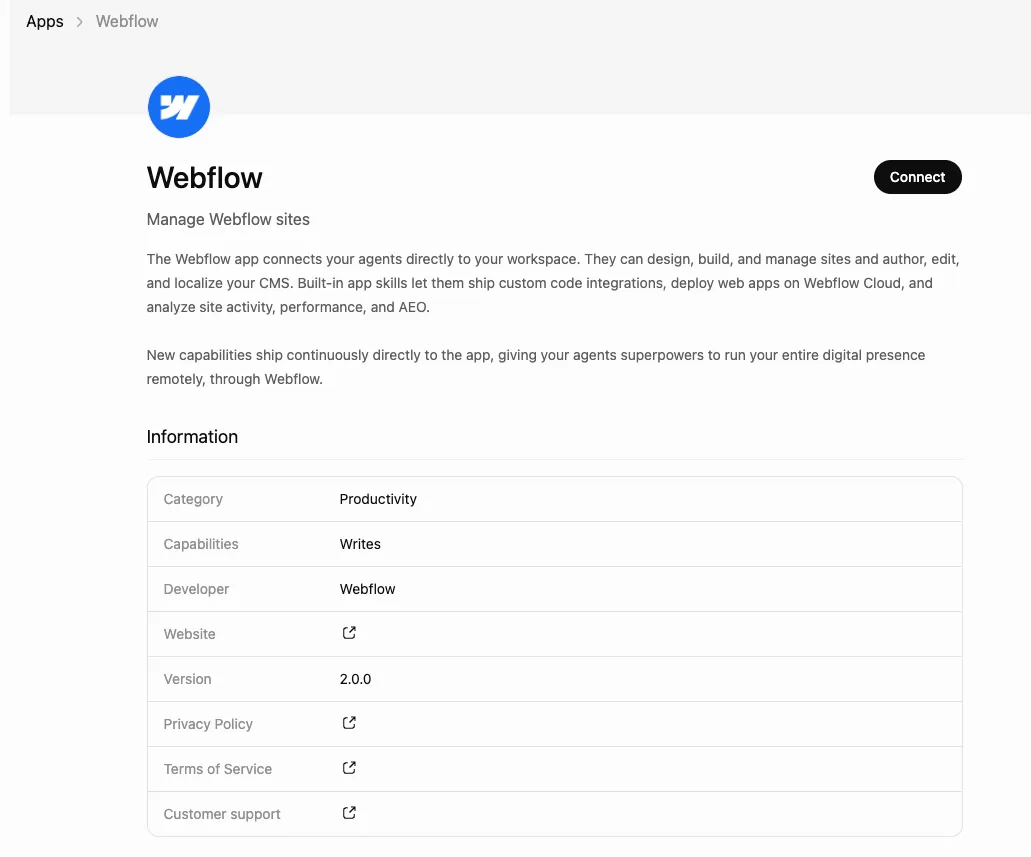
Sign in to Webflow
Click Sign in with Webflow and log in to your Webflow account if you’re prompted to do so.
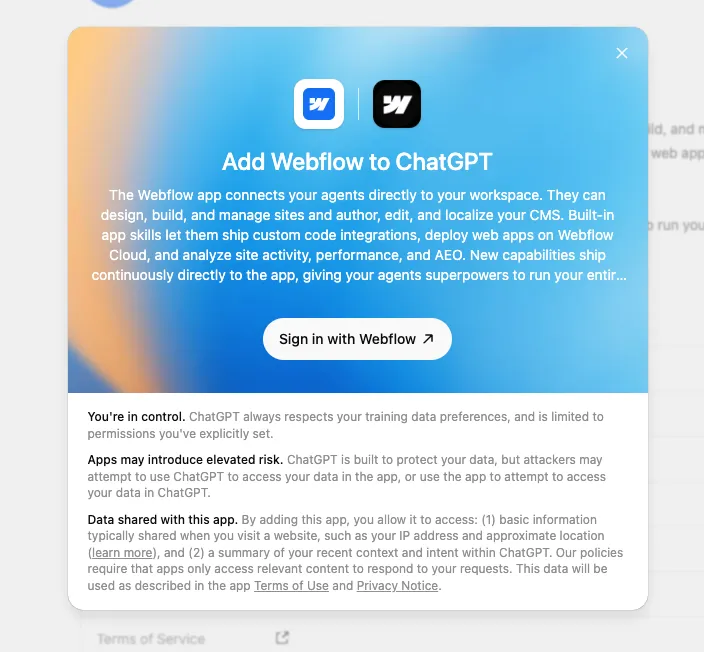
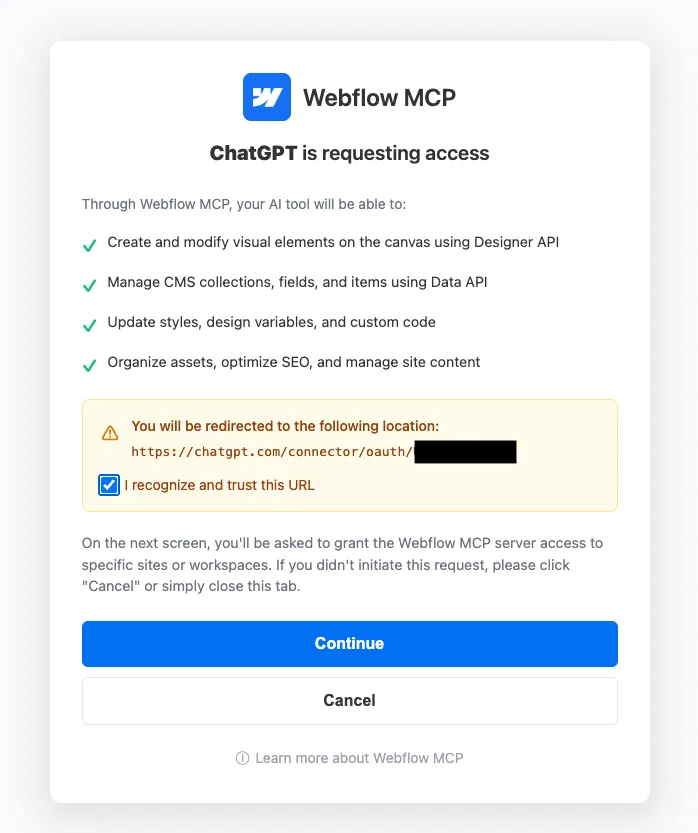
Review actions before ChatGPT takes them
By default, ChatGPT asks you to approve any actions it wants to take in Webflow. You can manage connected apps in ChatGPT → Settings → Connected apps.
Next steps
Now that you’ve installed the MCP server, explore what you can do:


Explore the prompt library
Browse ready-to-use prompts for image optimization, SEO audits, style refactoring, and more.


Use skills
Install skills that help you accomplish common Webflow tasks through natural language.


Learn how it works
Understand the architecture, authentication, and how the MCP server connects to Webflow’s APIs.