Add a SQLite database
This tutorial guides you through connecting a SQLite database to your Webflow Cloud app, defining your schema, and building API routes to store and retrieve user data.
You’ll learn these things:
- How to add a SQLite database to your Webflow Cloud app
- How to define and manage your schema with Drizzle ORM
- How to run and apply database migrations
- How to create API routes to add and fetch data
Prerequisites
Before you begin, make sure you have:
- A Webflow Cloud app linked to a GitHub repository
- A Webflow Cloud environment set up
- Node.js 22 or later and
npminstalled - Basic familiarity with JavaScript/TypeScript
New to Webflow Cloud?
If you haven’t already, follow the Quick Start guide to set up your app and environment.
Add a SQLite database
Set up a SQLite database so your Webflow Cloud app can store data.
Open the app in your IDE.
Navigate to the app’s source code in your IDE and open the wrangler.json file.
Add a SQLite database binding to the d1_databases array in wrangler.json.
Add the d1_databases array to the wrangler.json file, and declare a new database binding.
This configuration tells Webflow Cloud to create a SQLite database for your app and to apply any migrations found in the drizzle directory.
Add Drizzle ORM
Drizzle ORM is a tool that helps you work with a database using JavaScript or TypeScript code instead of writing raw SQL. It makes it easier to define your database structure, run migrations, and interact with data safely and reliably.
Install Drizzle ORM and Drizzle Kit.
Install the required packages for working with Drizzle ORM and managing migrations:
drizzle-orm: The ORM for interacting with the database.drizzle-kit: CLI for migrations and schema generation.tsxandbetter-sqlite3: Required for local development and SQLite support.
Create a schema
A database schema defines the data that the app can store. In these steps you set up a table to keep things organized as the app grows.
Create the schema directory.
To keep the schema organized, create a db/schema folder inside your src directory to hold all your schema files.
Define your first table.
Create an index.ts file in src/db/schema and import the necessary Drizzle ORM methods and use them to define a table of users named usersTable:
By defining the schema in code, you ensure that the database structure is always documented and version-controlled. To learn more about defining schemas with Drizzle ORM, see the Drizzle ORM documentation.
Initialize the database.
Whenever you change the schema, you must generate a migration. A migration is a set of instructions for updating the database structure. Migrations let you evolve your database structure safely over time, without losing data or breaking the app.
Because you just created a new table, you must generate a migration file to update the database.
In the terminal, run the following commands to generate a new migration file in the drizzle directory from the schema defined in src/db/schema/index.ts and apply it to the local database:
Connect to the database
Now you’ll connect the app to the database to make it easy to add, find, and update information as users interact with the app.
Create a helper function to get the database instance.
To avoid repeating connection logic, create a reusable helper that returns a Drizzle ORM instance. This instance ensures that you always use the correct schema and environment, and improves performance by reusing connections.
In src/db, create a getDb.ts file and add the following code:
Astro
Next.js
Create a route to add users to the users table.
To allow the app to add new users, create an API route that accepts user details and inserts them into the usersTable table.
This pattern is common for building RESTful APIs and helps keep your data layer organized.
Astro
Next.js
In src/pages/api, create a users.ts file with the following code:
This code runs these main steps:
- The route receives a POST request with user data.
- It inserts the data into the table.
- On success, it returns the new user; on error, it returns a failure message.
Create a route to get users from the users table.
To retrieve data, create a GET route that returns all users from the database:
Astro
Next.js
In the same users.ts file, add:
This code runs these main steps:
- The route receives a GET request.
- It queries all users from the database.
- It returns the list of users or an error message.
Test your routes.
Test your API routes to make sure you can add and retrieve users from your database.
-
Start the app by running the following command in your terminal:
-
In a different terminal window, add a user by sending a POST request as in the following example. Replace
<YOUR_PORT>with your actual port number, for example,4321:A successful response returns the new user as JSON, for example:
Try adding more users with different data to populate your database.
-
Retrieve all users by sending a GET request:
The response should include a list of users.
Deploy and view the app
Webflow Cloud applies database migrations automatically when you update the application. From here, you can connect to your database through the app’s endpoints, and any data you add will persist. You can also view and manage your data directly in the Webflow Cloud UI.
Deploy the app.
Use the Webflow CLI to trigger a new deployment of the app manually or commit and push your changes to your GitHub repository to trigger a new deployment:
View the app and database in Webflow Cloud.
-
Open the app’s environment in Webflow Cloud.
-
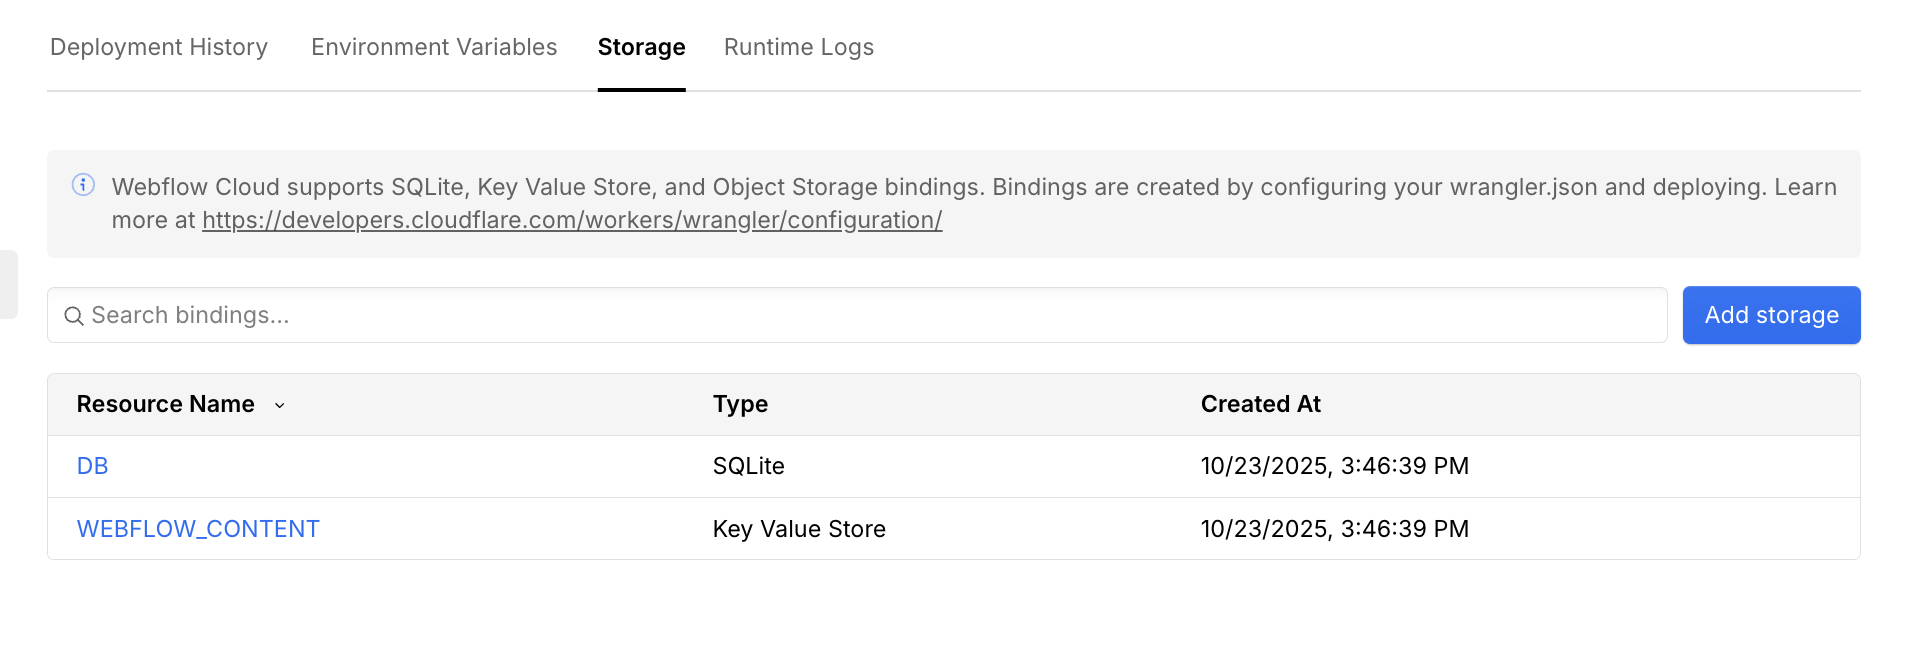
After the deployment completes, click the “Storage” tab in the environment.
-
Select the
DBbinding to view the database. -
You should see the
users_table. For now, it is empty, because all the previous changes were local. In the “Storage” tab, you can add and update users through the UI.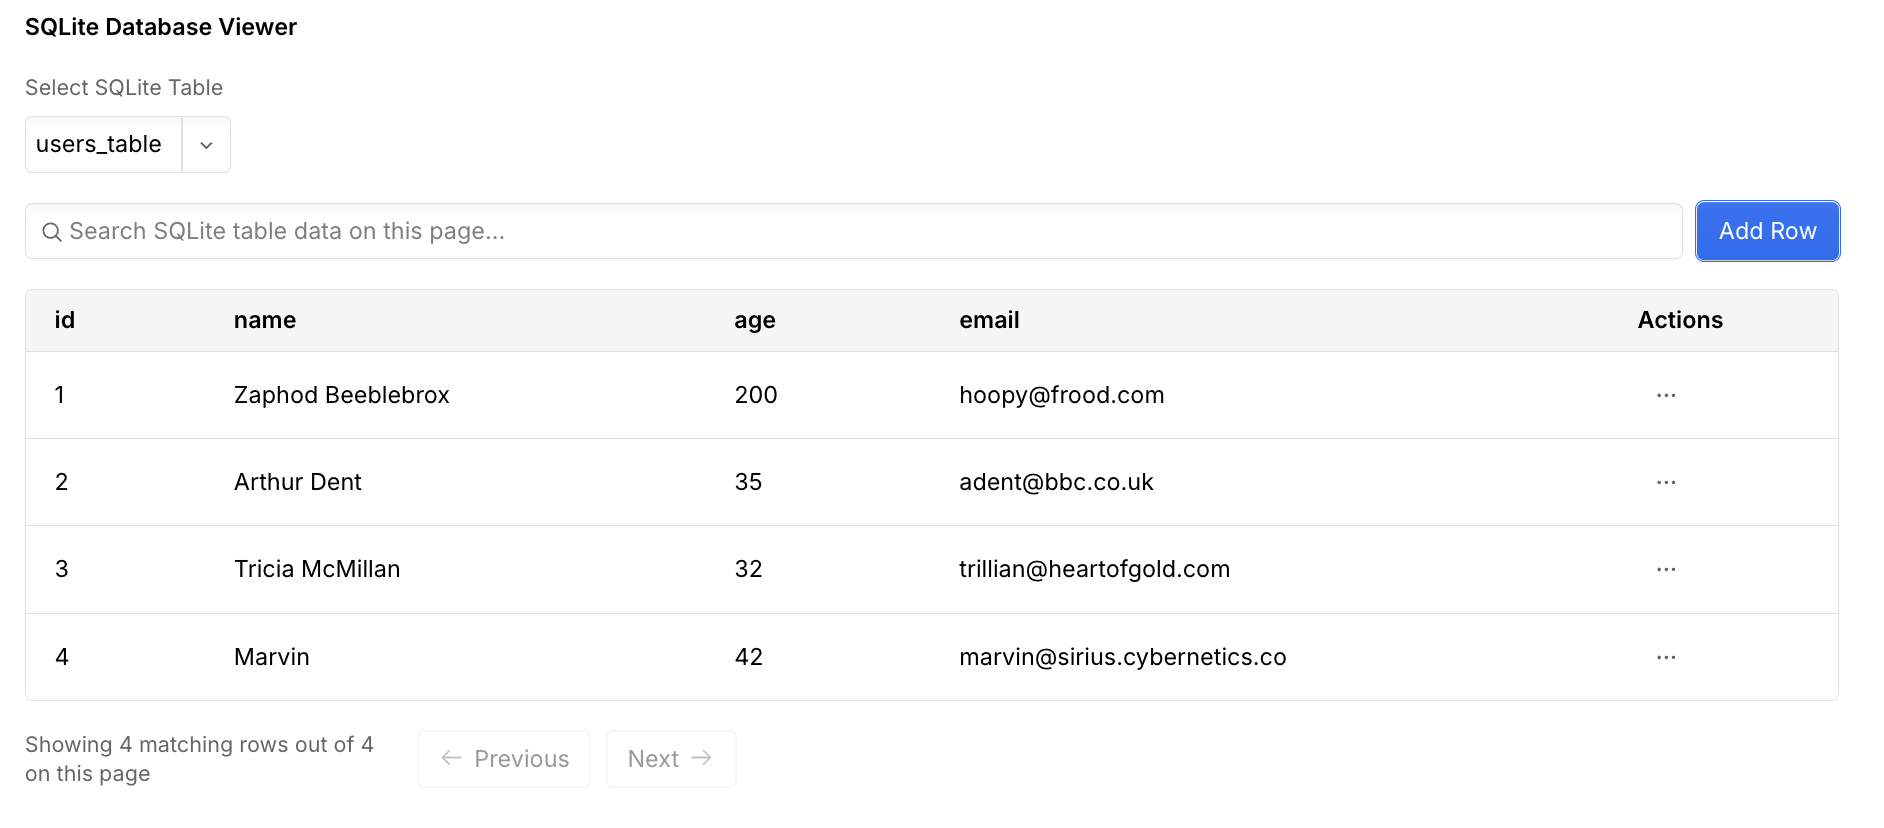
Try calling the API routes
You can also try calling the API routes to add and retrieve users from the deployed app. To make these calls, put the app URL and path from the Webflow Cloud environment into the path of the call, as in this example:
You’ve now added persistent storage to your Webflow Cloud app using SQLite and Drizzle ORM. You learned how to:
- Connect a SQLite database to your app
- Define and manage your schema in code
- Run and apply migrations
- Build API routes to add and retrieve data
Next steps
Ready to build more? Check out related guides and resources to keep growing your app’s capabilities.
- Learn more about SQLite in Webflow Cloud
- Learn about other storage options in Webflow Cloud
- See examples for adding authentication to your app